Want to give your handmade clothes or small clothing line a professional touch? DIY clothing labels are a great way to personalize your garments, promote your brand, and make every piece feel complete. Whether you’re a small business owner, crafter, or fashion lover, creating your own labels is easier than you think!
Here’s how to get started:
🧵 1. Choose the Type of Label You Want
The first step in making your own clothing labels is deciding on the style that fits your product best. There are a few popular options:
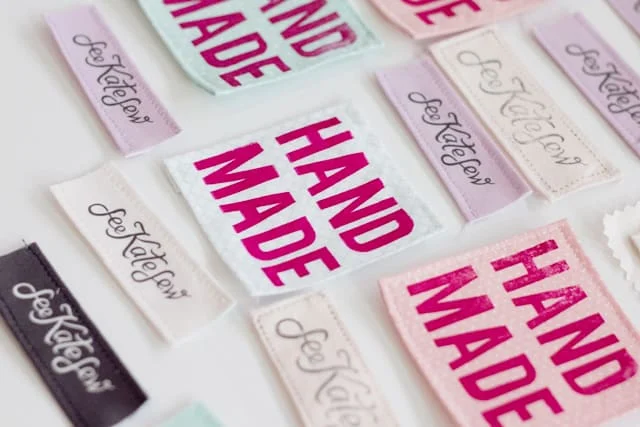
Woven Labels: Durable and high-end, perfect for long-term use. Great for garments, accessories, and home textiles.
Printed Labels: Ideal for small batches or colorful designs. These are budget-friendly and flexible.
Iron-On or Sew-In: Depending on your product, choose between easy iron-on or traditional sew-in labels.
👉 Tip: Woven labels look especially premium and are more resistant to washing and wear.
🎨 2. Design Your Label
Your label is a mini version of your brand — make it memorable!
Include your brand name, logo, and optional extras like website or care info.
Keep your design clean and readable.
Use a limited number of colors if you’re choosing woven labels.
If you don’t have a design yet, many label companies offer online editors or custom design help.
🛠️ Want a quick design solution? Use a label editor right on your supplier’s site to drag and drop elements.
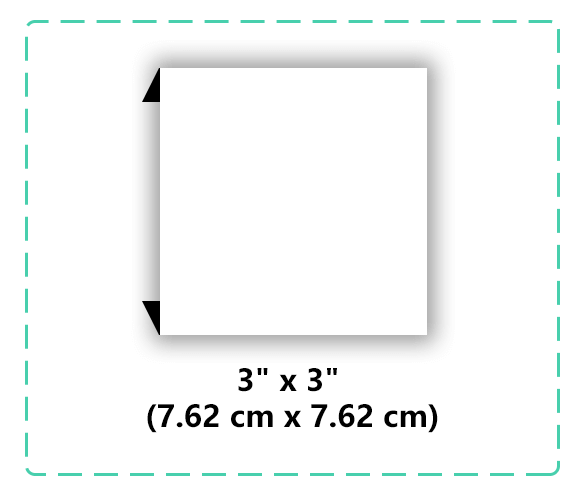
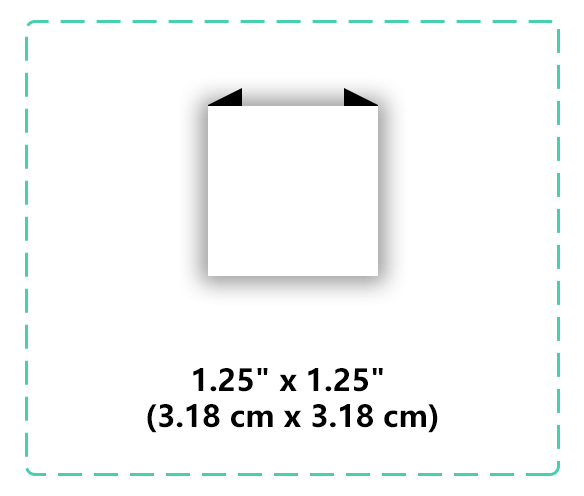
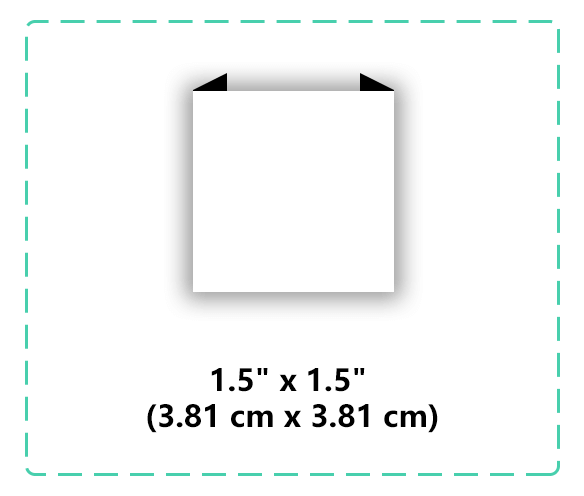
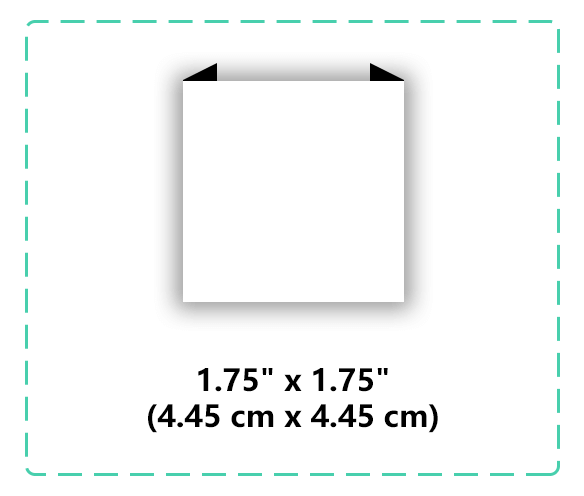
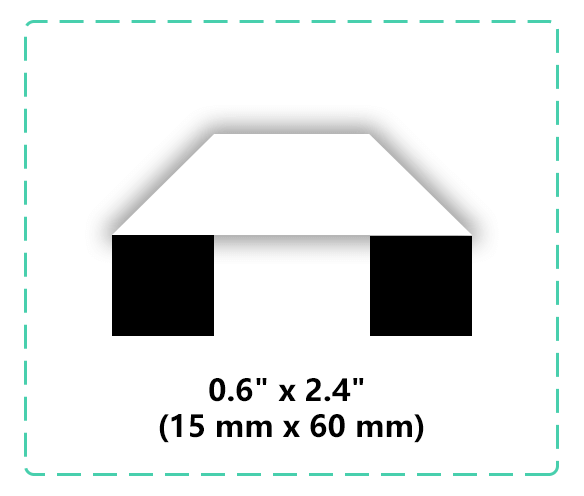
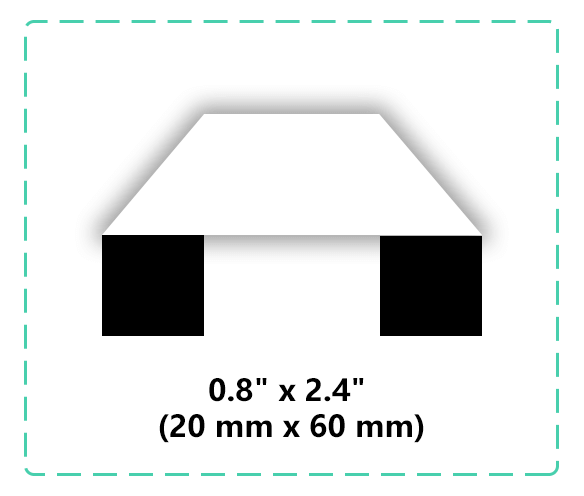
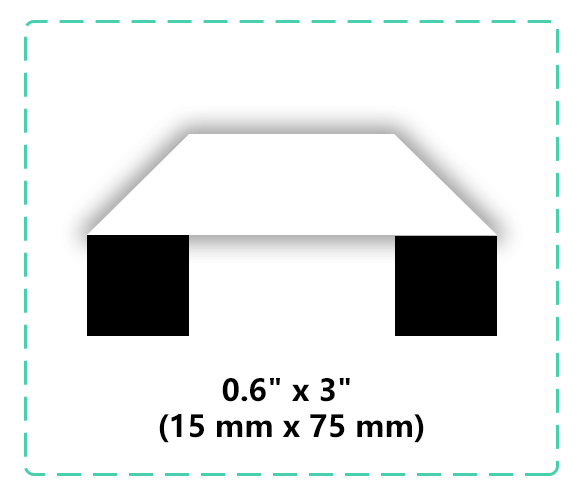
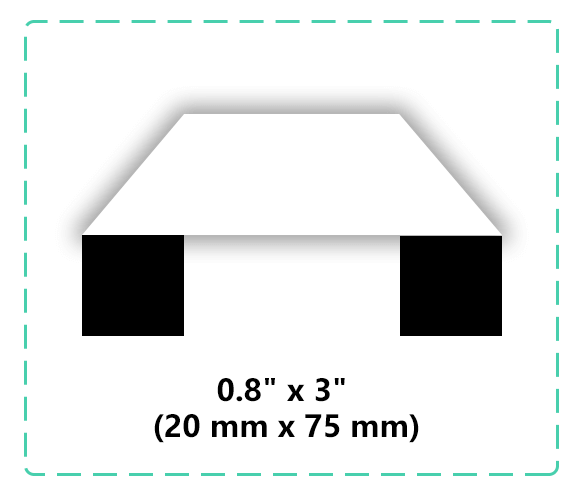
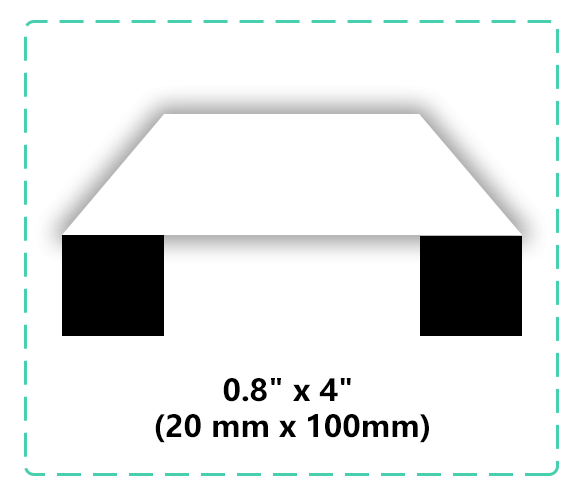
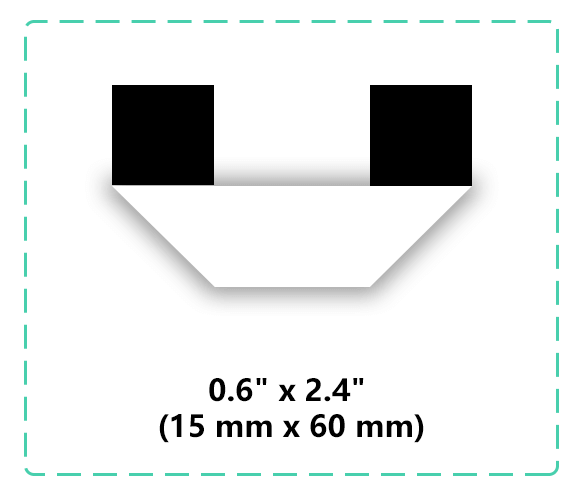
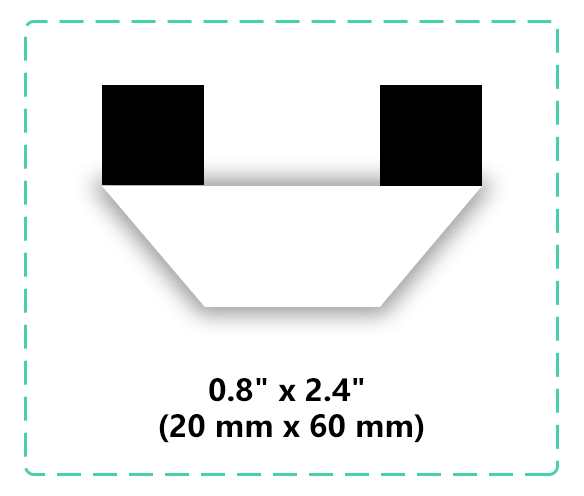
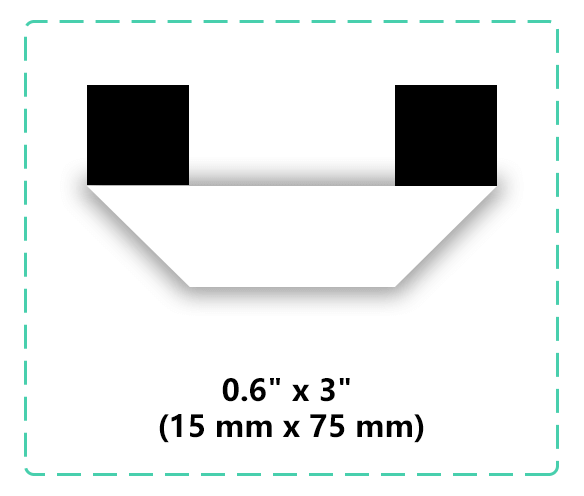
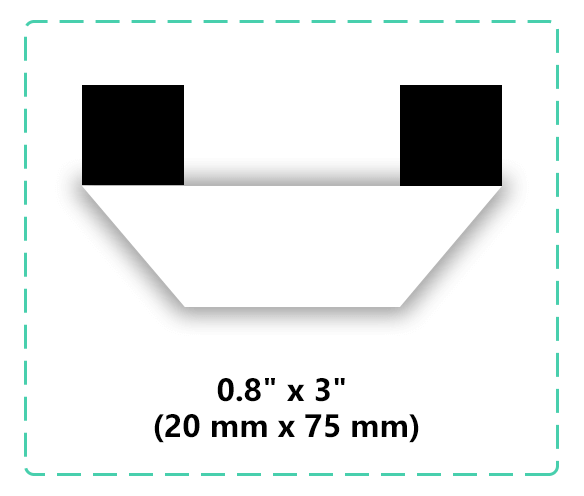
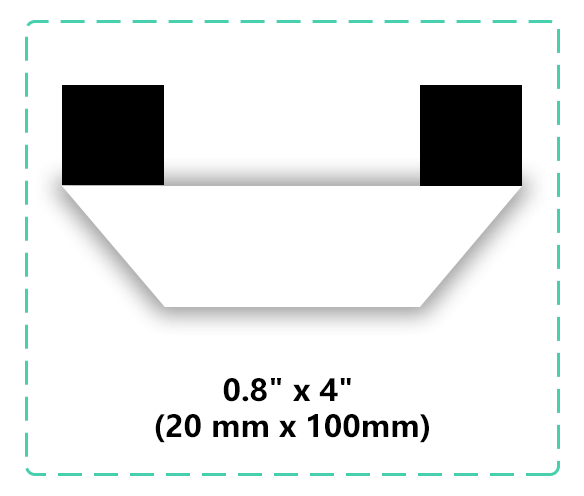
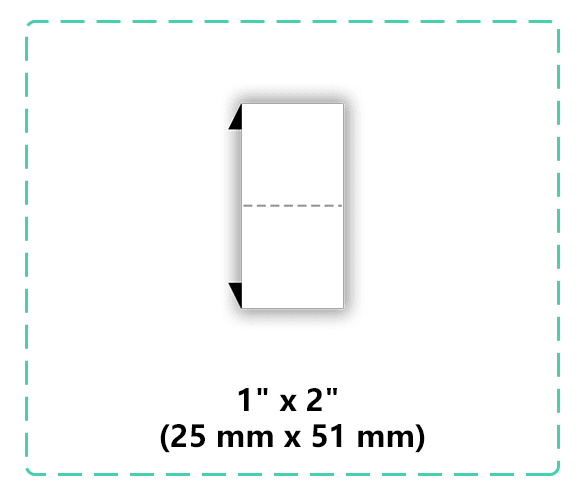
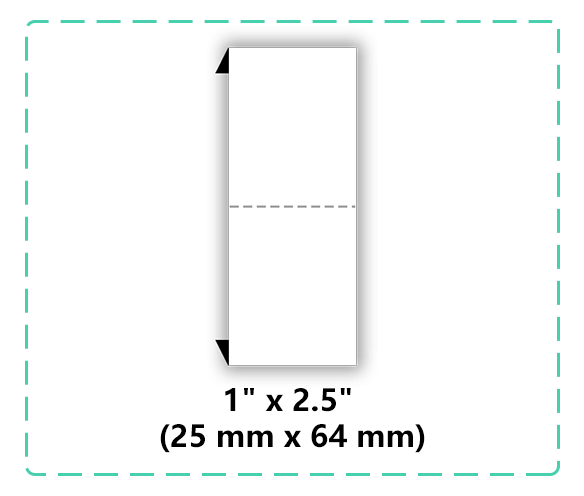
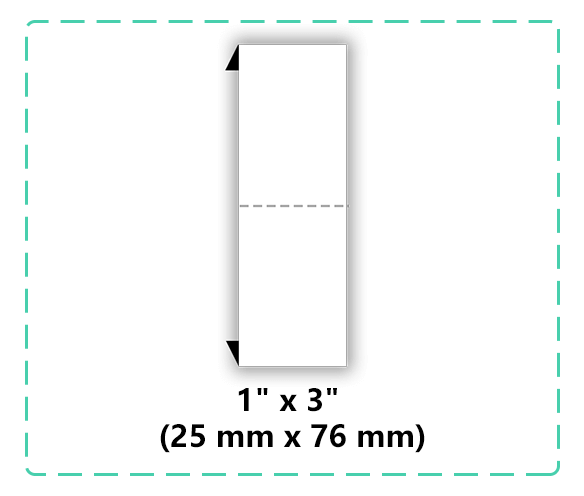
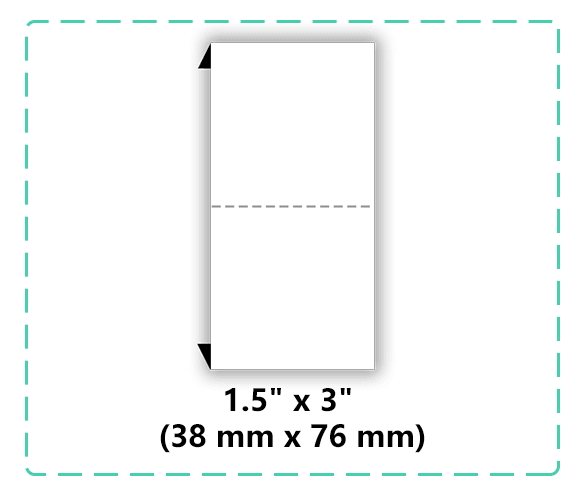
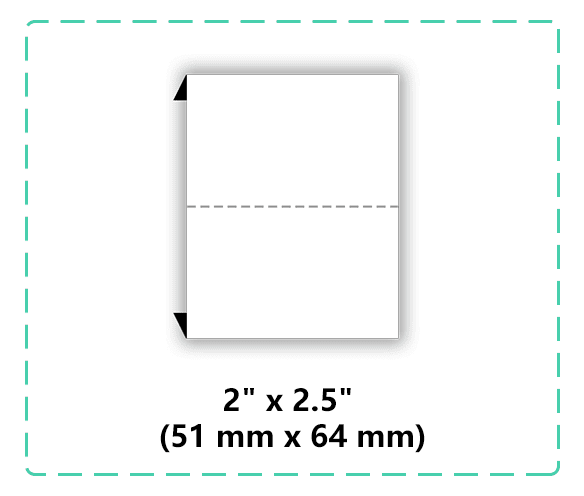
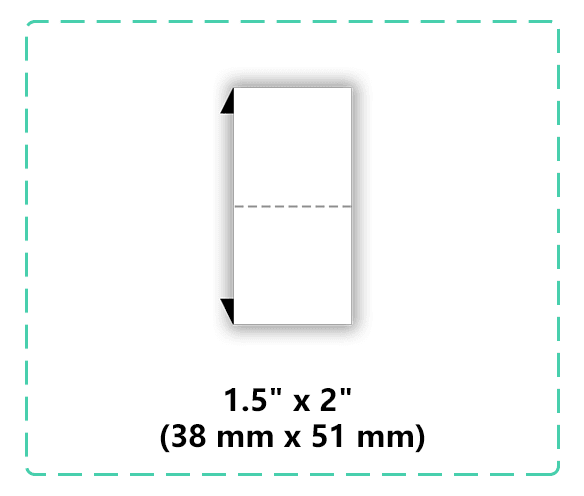
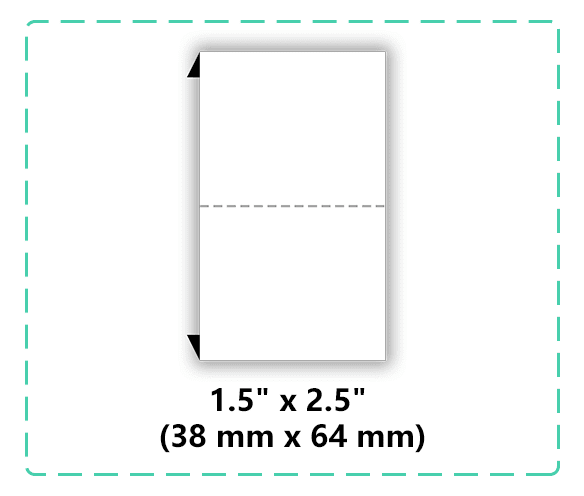
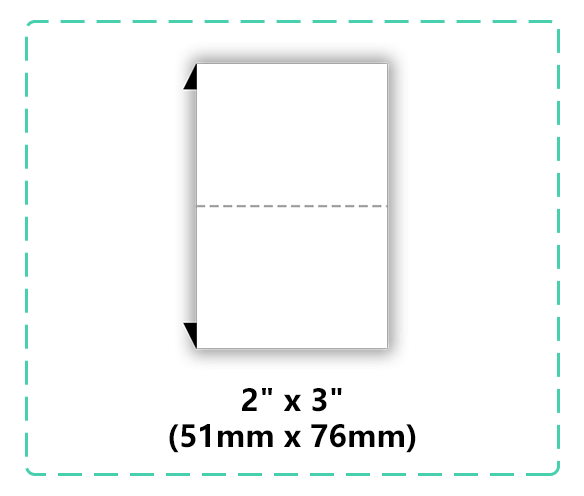
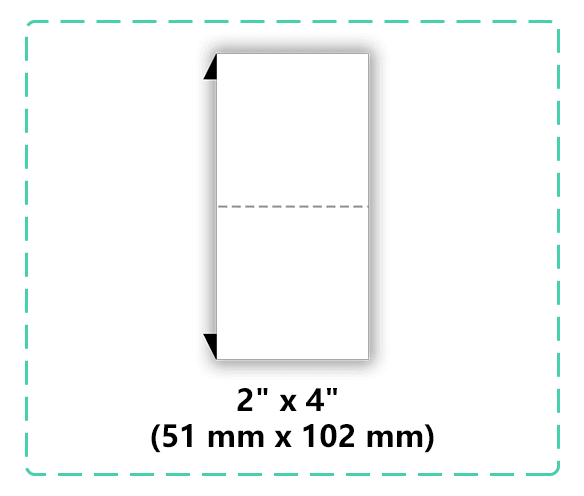
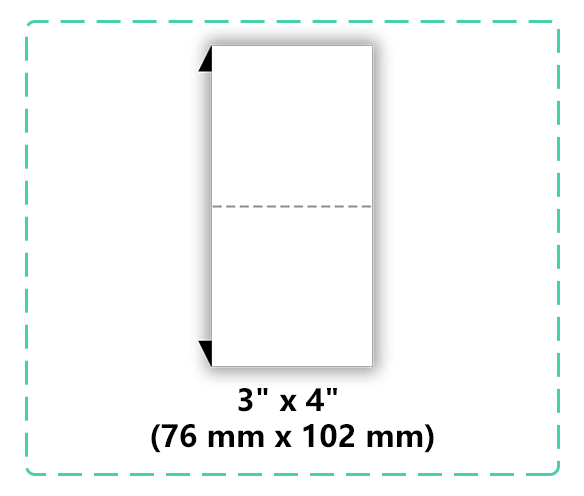
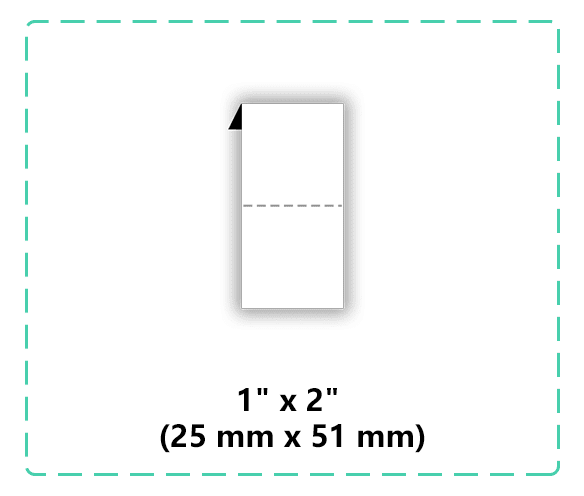
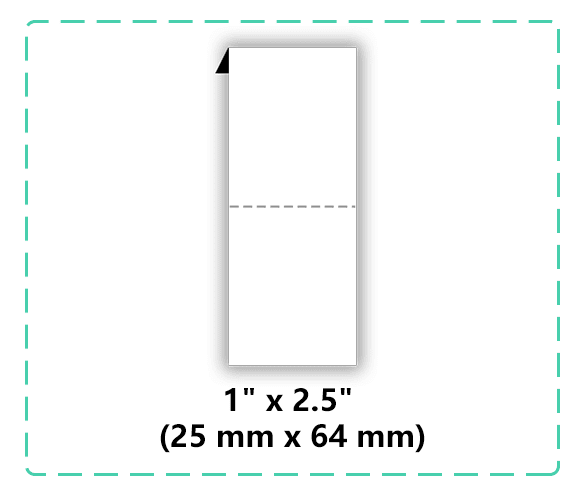
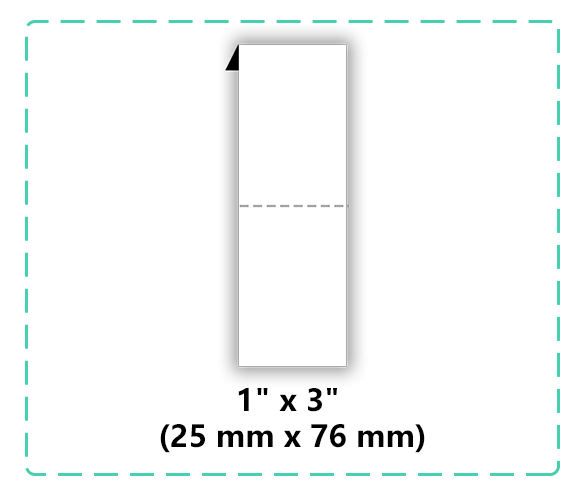
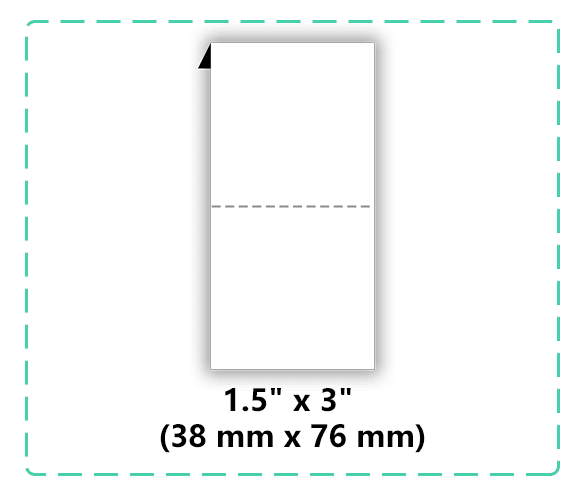
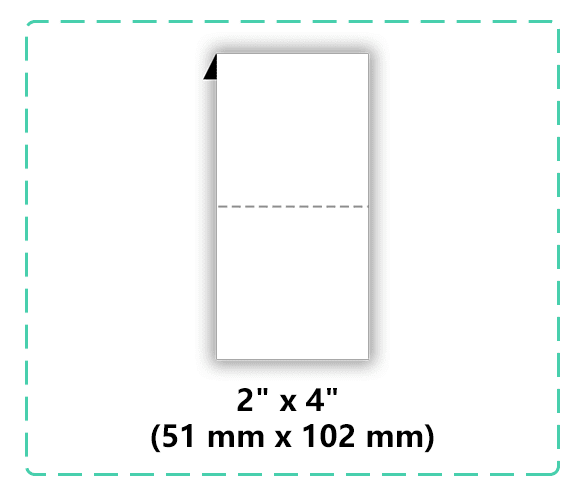
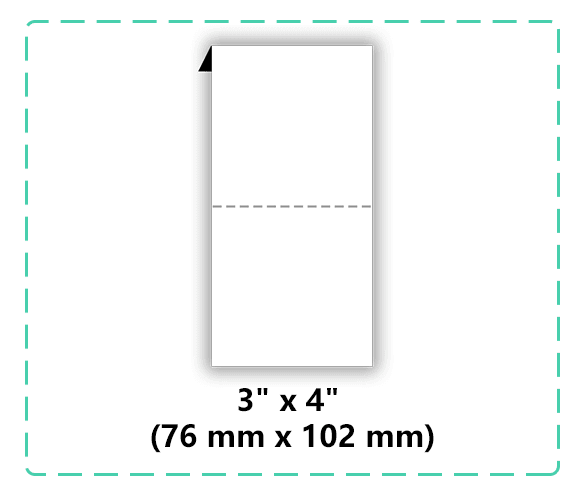
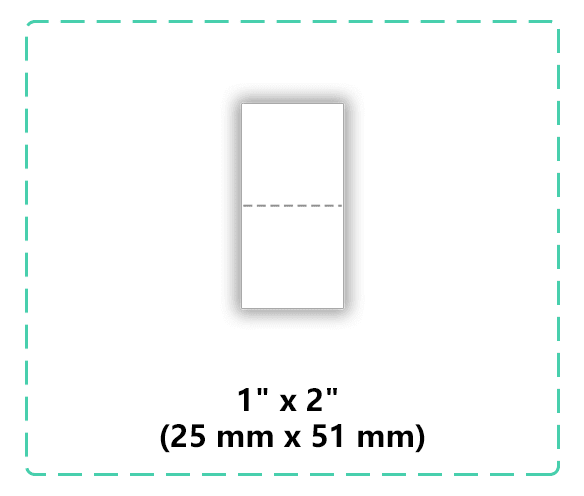
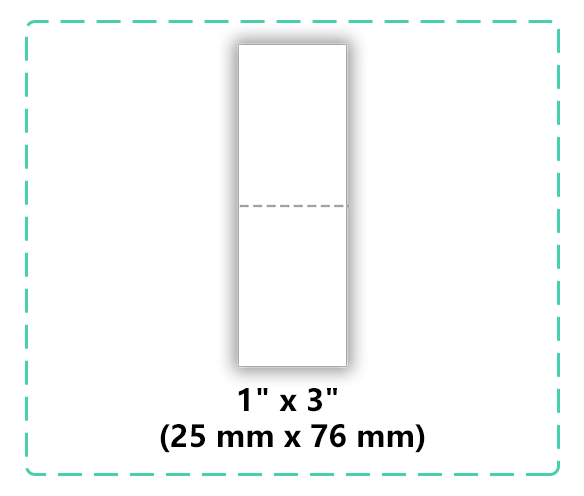
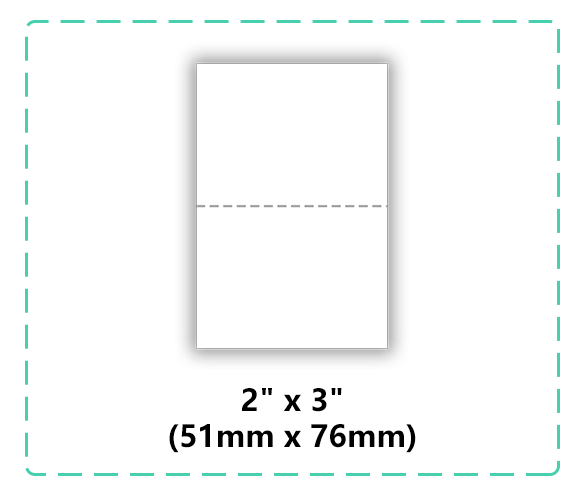
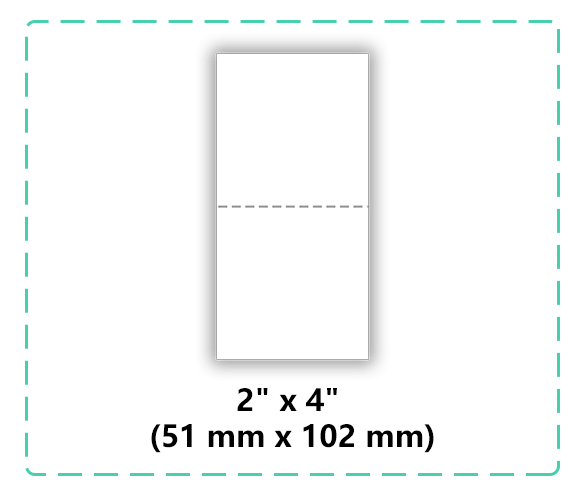
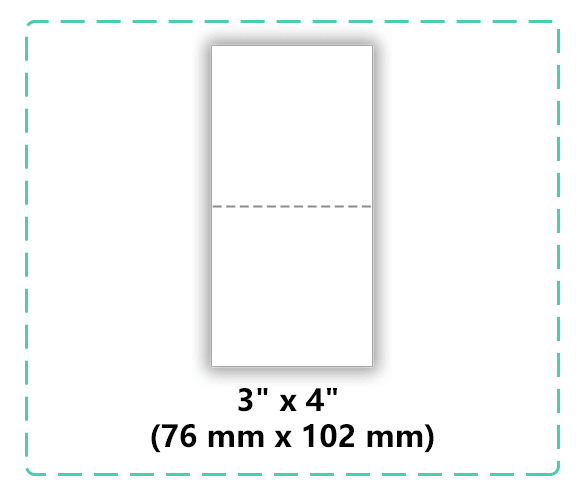
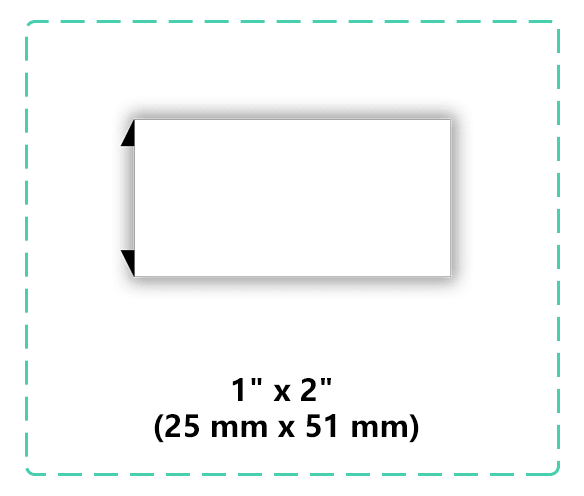
📐 3. Decide on Size and Fold Type
Think about where the label will go and how it will be attached.
Flat (Straight-Cut): Great for outer branding or tags.
Center Fold: Popular for inside neck labels.
End Fold: Easy to sew into hems or seams.
Measure the space on your product and make sure the label fits comfortably and visibly.
🧵 4. Order Custom Labels from a Trusted Source
You can DIY the design, but manufacturing quality labels usually requires the help of a professional supplier.
Look for a label provider that offers:
Low minimum orders
High-resolution woven or printed quality
Fast delivery and clear proofing process
Expert design review
 upperlabels.com (Link) lets you upload your artwork or use their online tool. Plus, they ship worldwide with fast turnaround.
✂️ 5. Apply the Labels to Your Products
Once you have your labels, it’s time to attach them to your creations.
For sew-in labels: Use a sewing machine or hand-stitch securely.
For iron-on labels: Follow the temperature and pressure instructions for best results.
Make sure the label is placed straight, secure, and not irritating to the skin — especially for neck or inner-wear labels.
🌟 6. Use Labels to Build Your Brand
Custom labels do more than just identify your products — they help your customers remember you.
Add a touch of professionalism
Build brand trust with consistent identity
Encourage repeat purchases by including a web address or care tips
Labels also make a great talking point for handmade or indie fashion brands that care about detail.
✅ Why DIY Clothing Labels Matter
Make your creations look polished
Add a personal touch to gifts or small-batch items
Turn your hobby into a brand
Whether you’re selling on Etsy, Shopify, or at local craft fairs, custom labels help you go from homemade to pro-made.
🔚 Final Thoughts
Creating your own DIY clothing labels doesn’t have to be complicated. With the right design, materials, and supplier, you can create labels that enhance your products and grow your brand. Start small, stay consistent, and let your labels speak for your creativity.
 Ready to try it? Start designing today with upperlabels.com (Link) — your partner in premium woven and printed labels.