When it comes to branding, the little details can make a big difference. One of the easiest—and most effective—ways to give your products that professional finishing touch is by adding custom hang tags. They’re more than just a price tag; they’re a storytelling tool for your brand.
In this post, we’ll walk you through how to start creating your own hang tags, how to choose the right size and colors, and why these small pieces of cardstock can have such a big impact on your business.
Step 1: Why Hang Tags Matter
Think about the last time you bought a piece of clothing. Did you notice the hang tag before you even tried the product on? For most people, the answer is yes. A hang tag is often the first branded detail your customer sees—it tells them about your style, your values, and even your product care instructions.
At UPPERLABELS, we’ve seen brands go from plain packaging to polished simply by adding professional hang tags. They give you:
A chance to show off your logo and brand colors
A space to share your story or social media info
A premium look that sets you apart from competitors
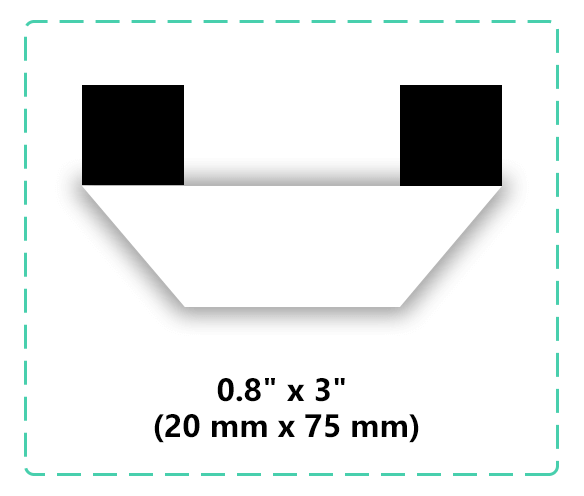
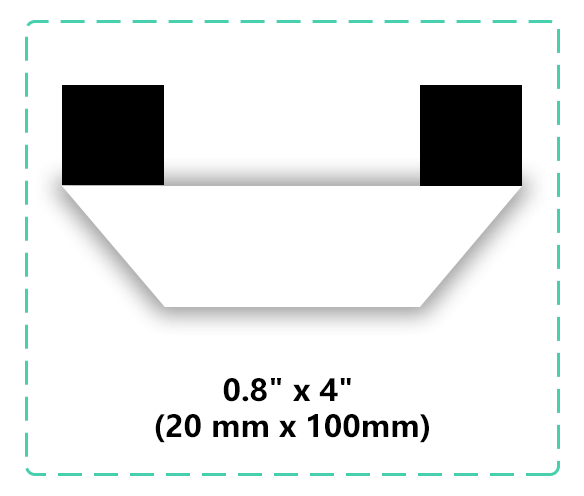
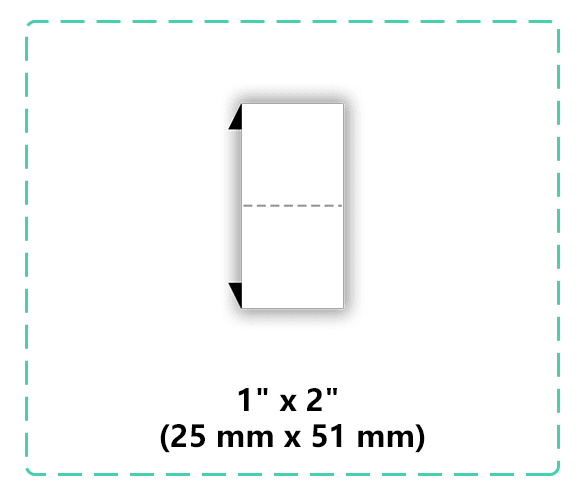
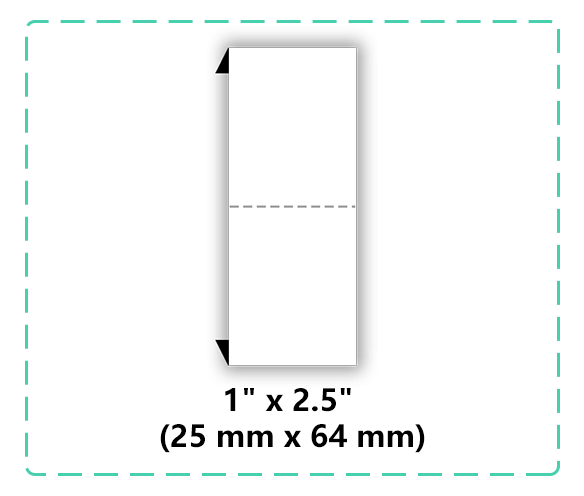
Step 2: Choosing the Right Size
One of the first decisions you’ll make is size. The right hang tag size depends on your product:
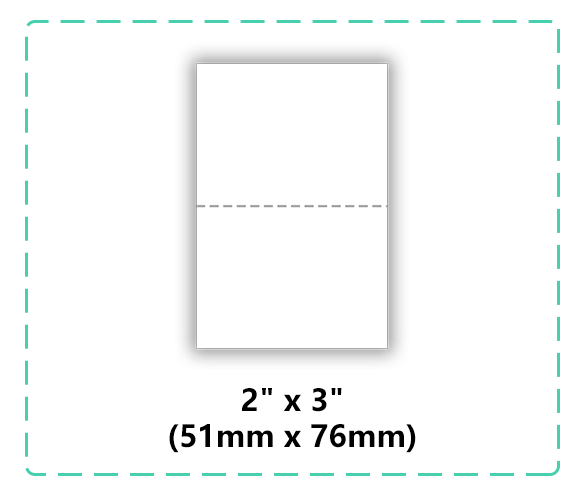
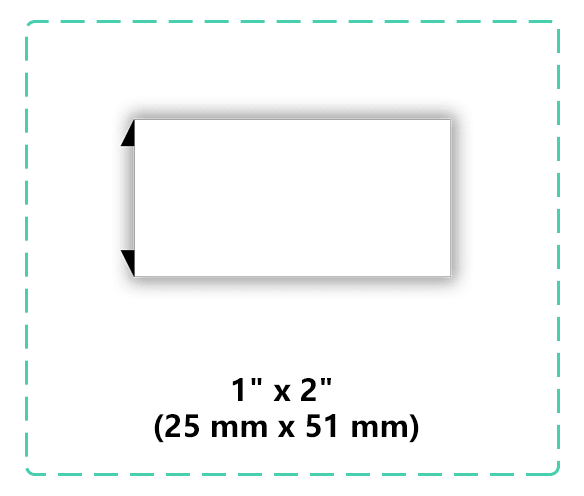
Small tags (like 2” x 3”) work perfectly for accessories, jewelry, or children’s items.
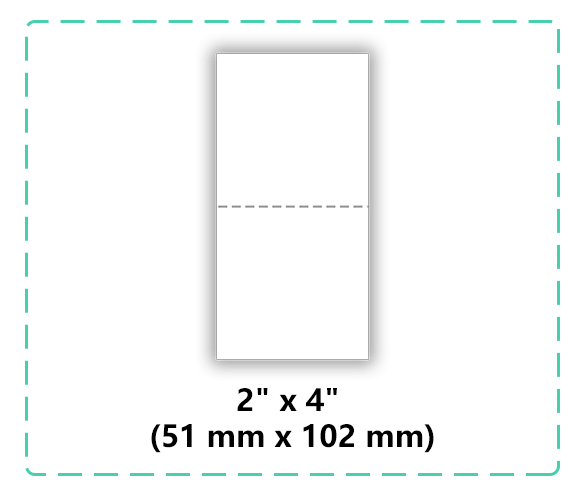
Medium tags (around 2” x 4”) are the go-to for clothing like t-shirts, hoodies, and dresses.
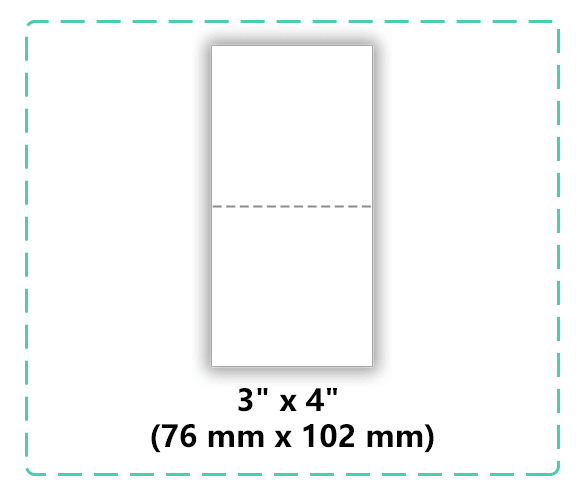
Large tags (3” x 5” or more) are great when you want to include more details—like care instructions or QR codes.
If you’re not sure, you can always start with a standard size and adjust later. On our custom hang tags page, you’ll find multiple options so you can match your products with the right dimensions.
Step 3: Picking Colors That Pop
Your hang tag colors should tie back to your overall brand identity. Here are some quick tips:
Match your logo: Use your existing brand colors so everything feels cohesive.
Keep it readable: If you’re printing text, make sure the background and font colors contrast.
Think about vibe: Neutral tones give a minimalist look, while bold colors create a playful, energetic feel.
And don’t forget—sometimes less is more. A simple white background with your logo in bold can look super high-end.
Step 4: Adding the Details
Once you’ve chosen size and color, it’s time to think about content. The best hang tags are simple but memorable. You might include:
Your logo
A slogan or tagline
Product care instructions
Social media handles
A QR code linking to your website
Want some inspiration? Check out our rectangular hang tags to see how clean designs can still make a big statement.

Final Thoughts
Creating your own hang tags isn’t complicated, but it does require a little planning. When you take the time to pick the right size, choose colors that align with your brand, and add thoughtful details, your hang tags can turn into a powerful branding tool.
Ready to get started? Explore our custom hang tags and start designing tags that bring your products—and your brand—to life.