Worldwide Shipping · Get a Custom Quote


Designing a woven label is not only about choosing a logo and thread color. The artwork also needs to work at the final label size, leave enough room for folding or sewing, and remain clear when reproduced with woven threads.
A good production-ready label design usually comes down to a few practical decisions: placement, finished size, fold type, artwork detail, color contrast, and proof approval.
This guide walks through those decisions step by step, from your original artwork to a production-ready woven label.
Step 1: Decide What the Label Needs to Do
Start with the label’s job before deciding its size or fold.
Ask where the label will be used and what information it needs to show. A main neck label, hem label, side seam label, and small brand tab may all use different proportions and attachment methods.
Decide whether the label needs to include:
- your brand name or logo
- a short tagline
- a size
- a small secondary mark
- only a simple brand symbol
If the label needs care instructions, fiber content, origin information, or several lines of small text, a separate printed care label may be more practical than trying to fit everything into the woven brand label.
Start with the purpose and placement first. The design decisions become much easier after that.
Step 2: Choose the Finished Size and Placement
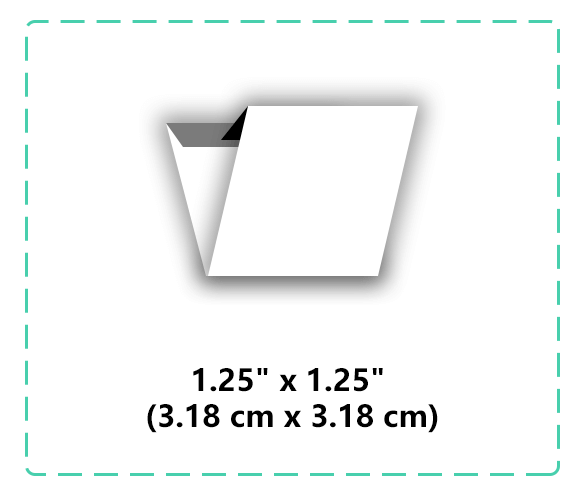
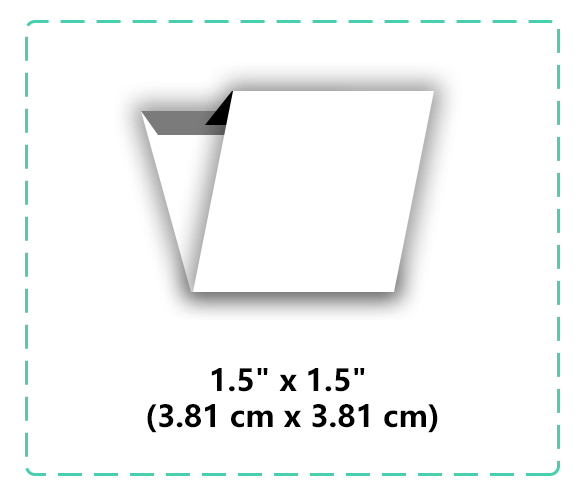
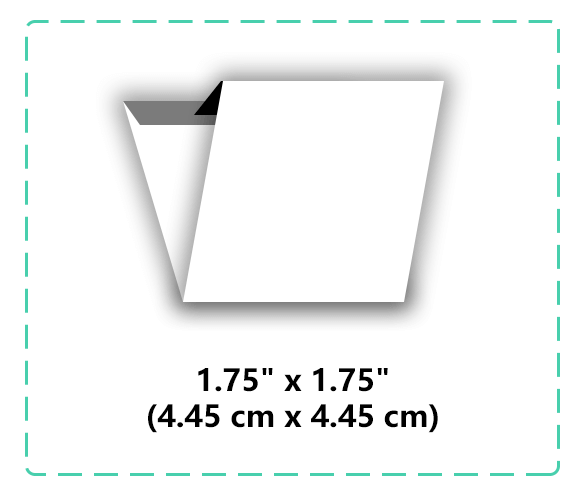
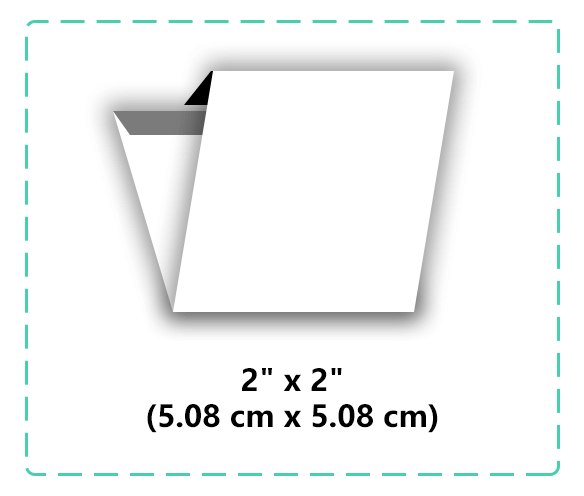
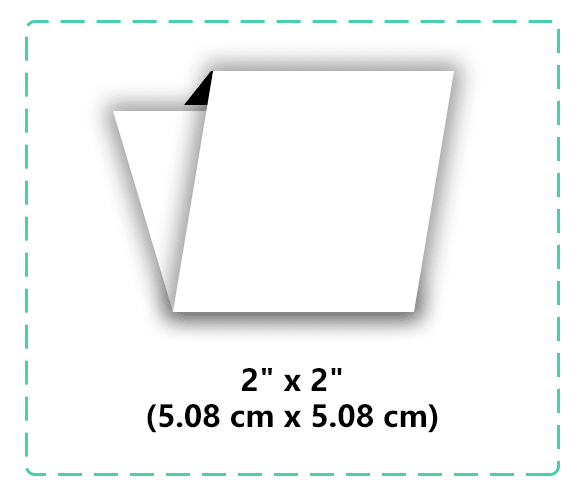
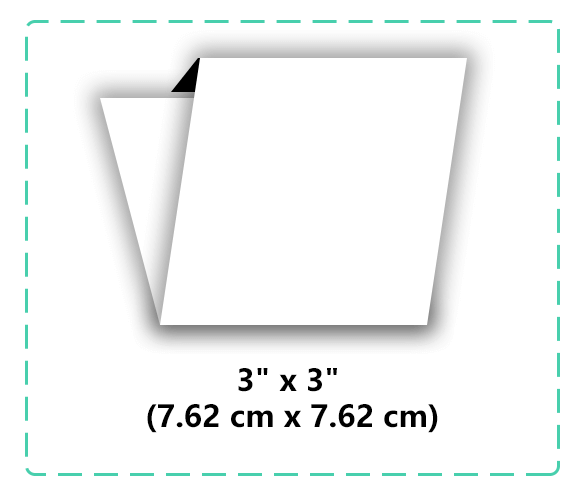
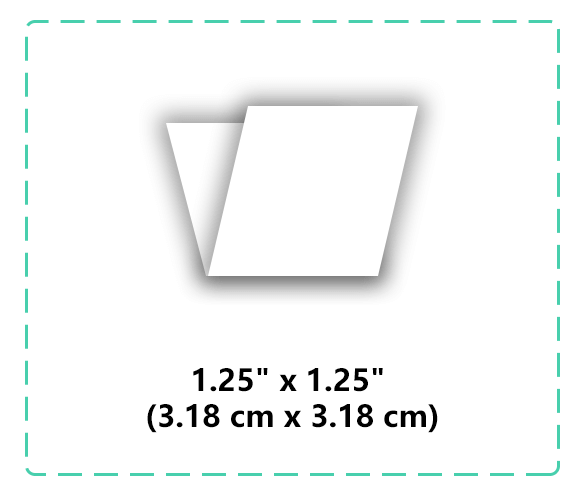
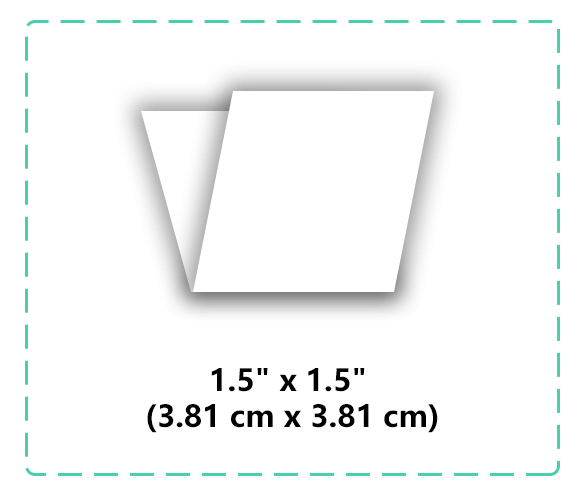
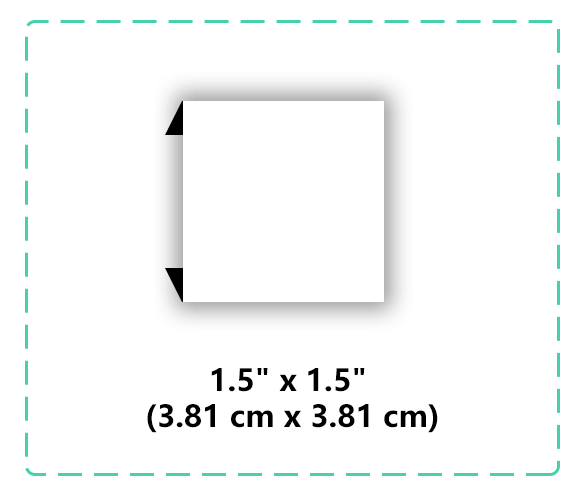
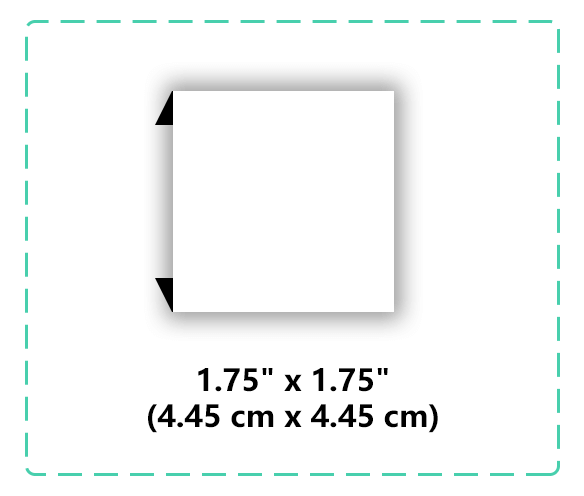
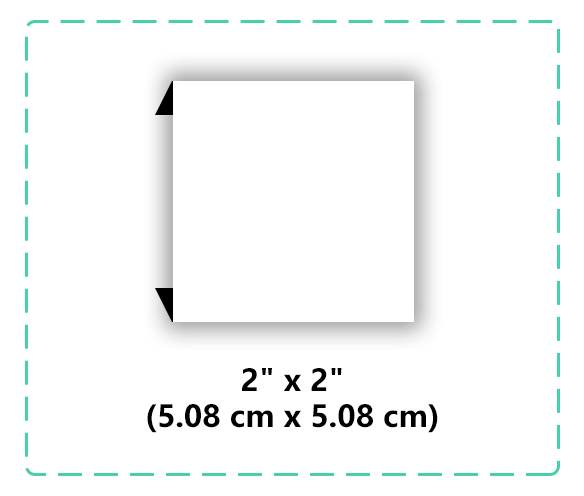
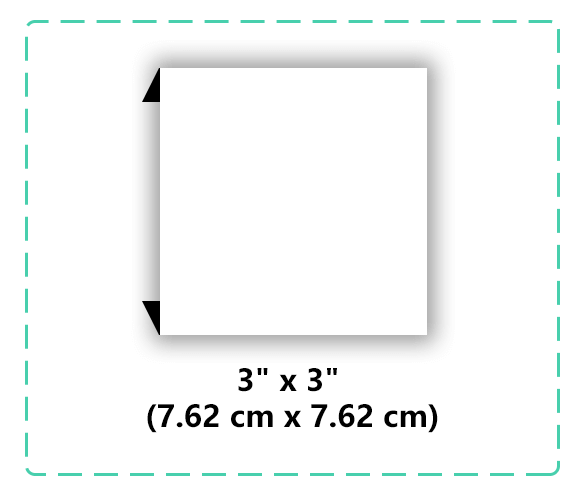
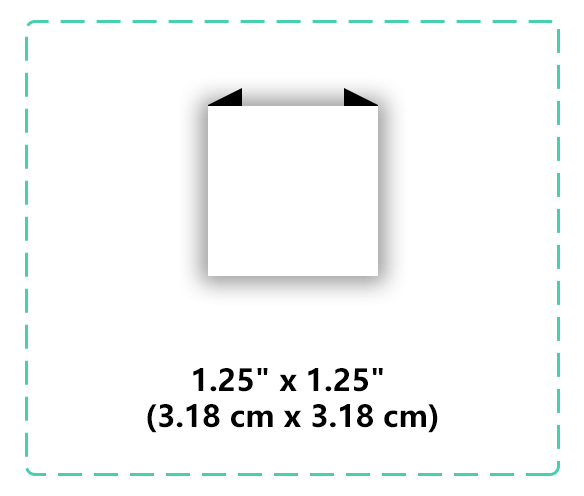
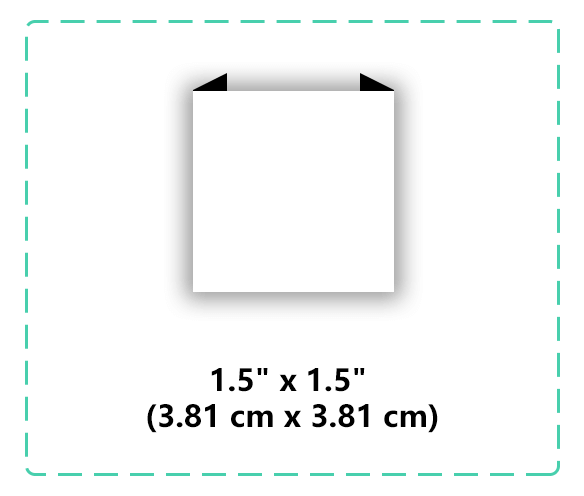
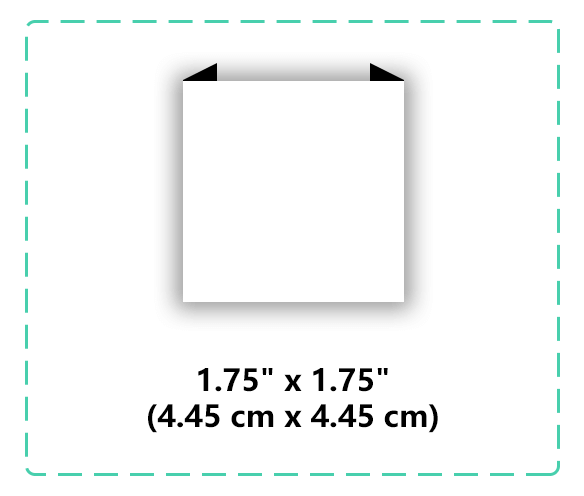
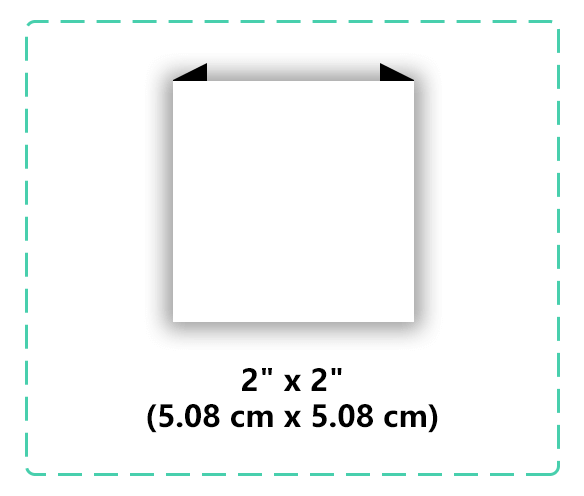
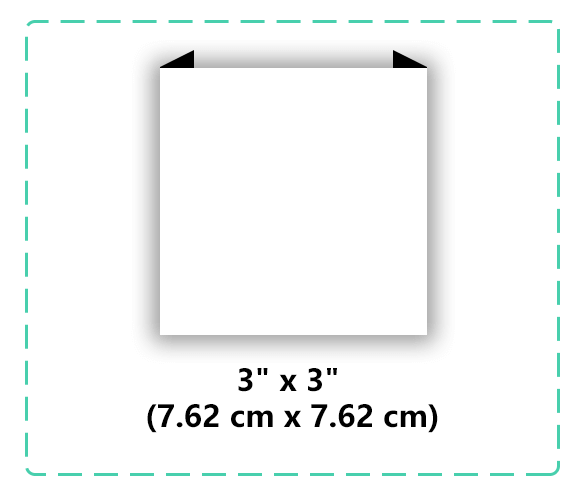
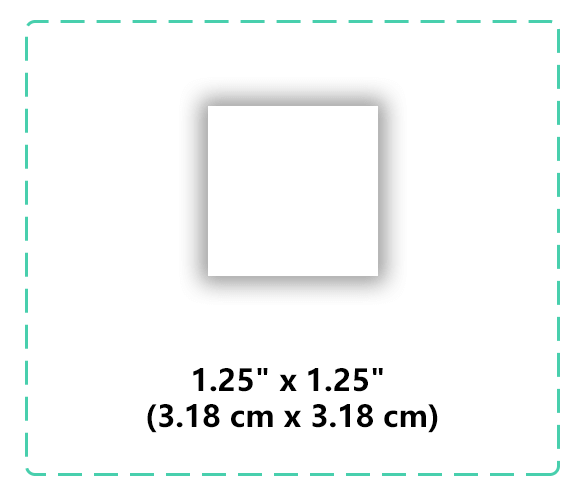
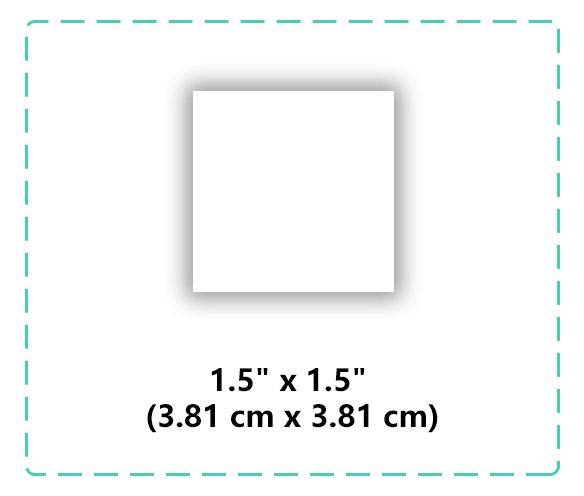
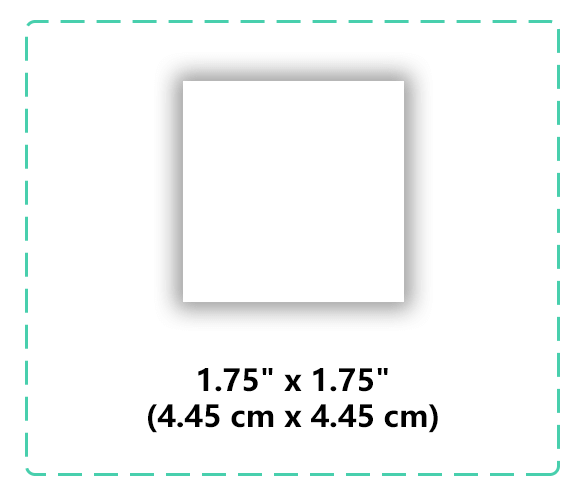
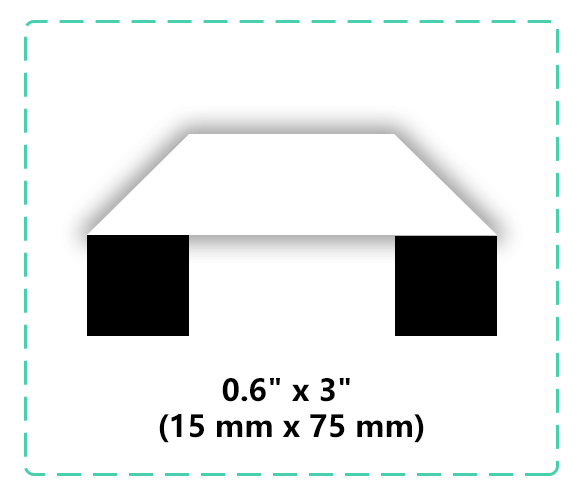
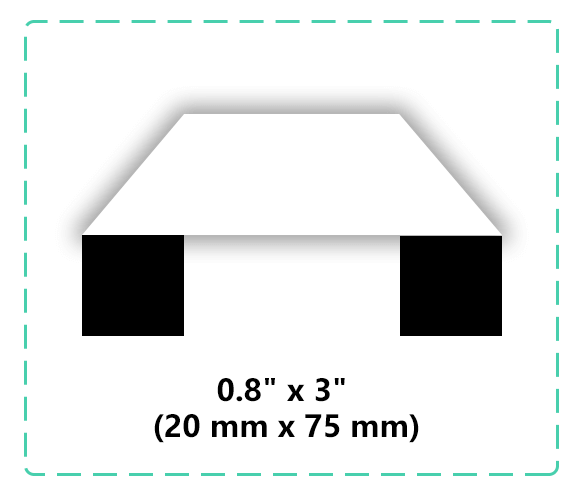
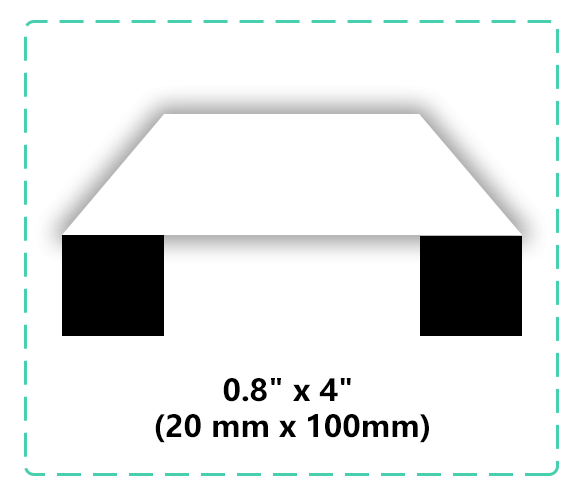
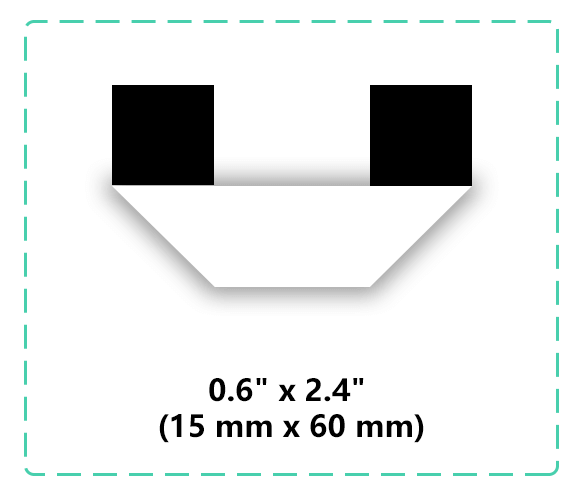
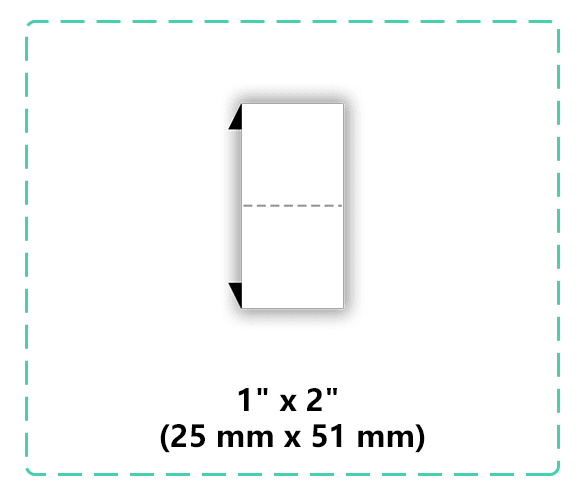
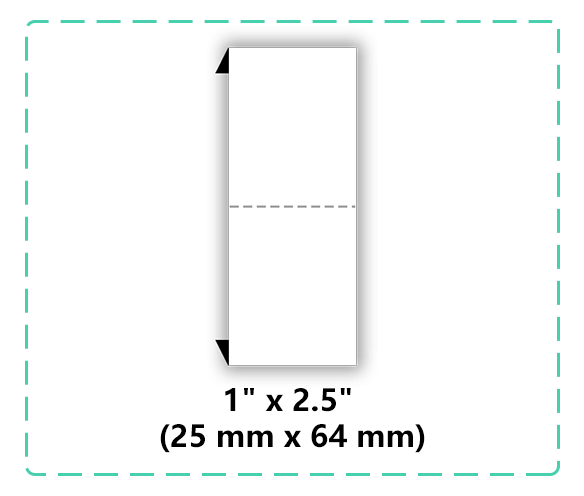
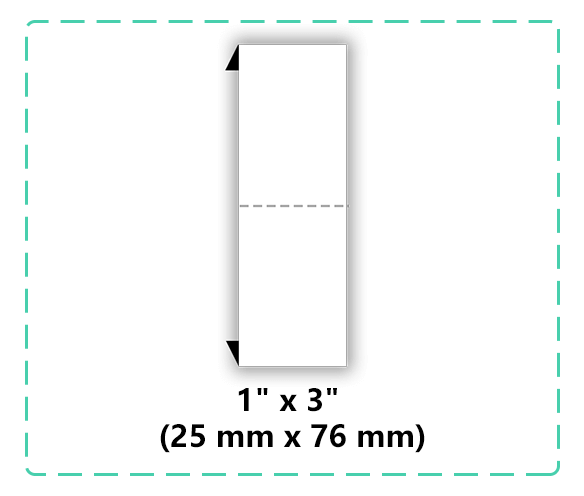
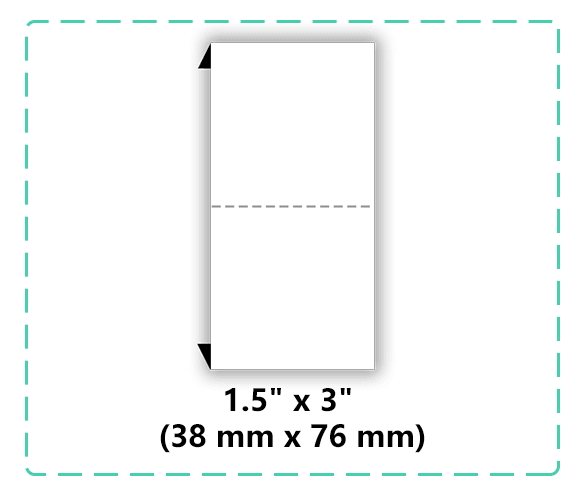
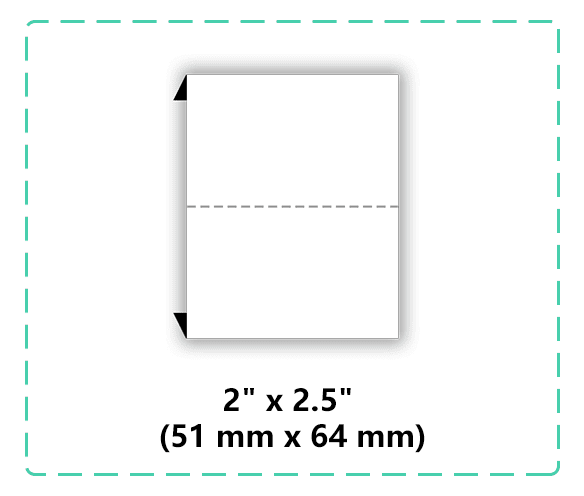
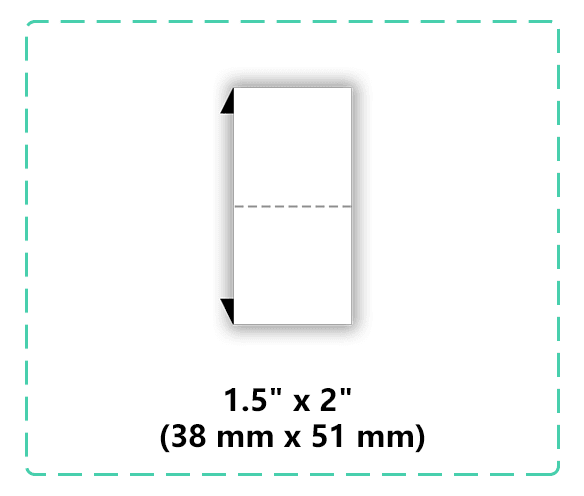
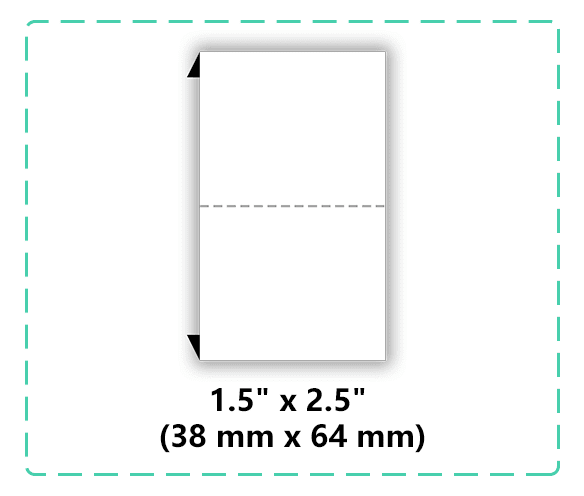
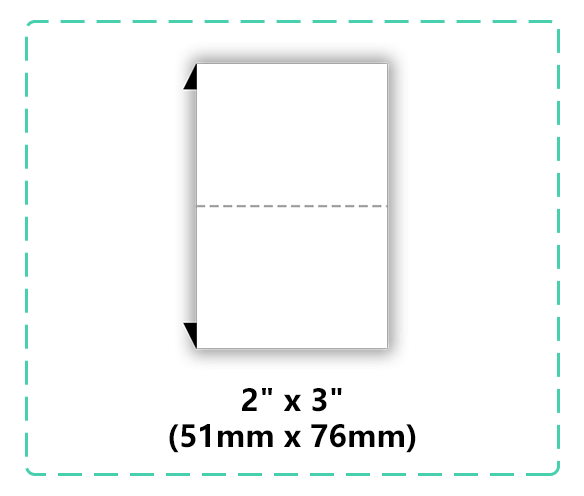
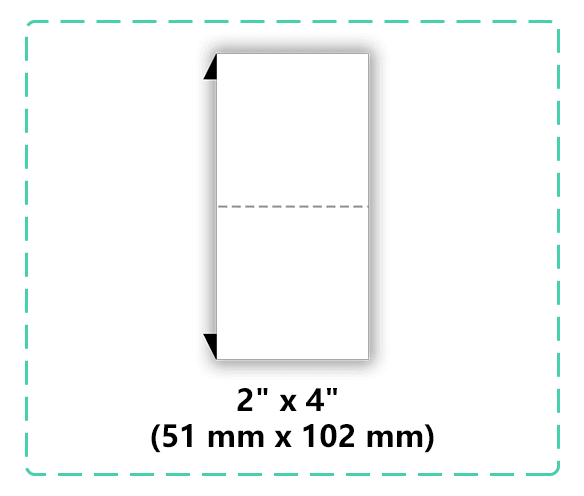
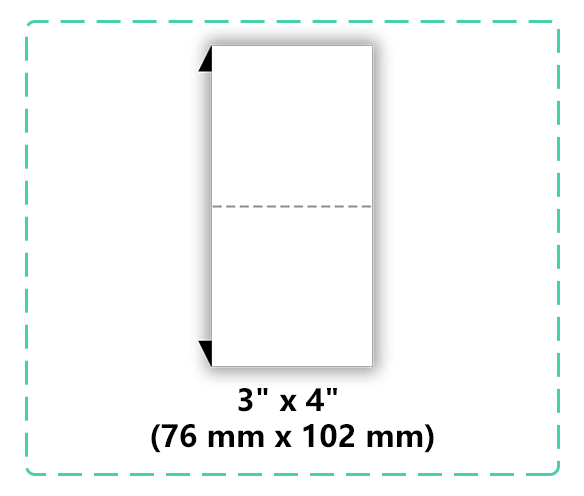
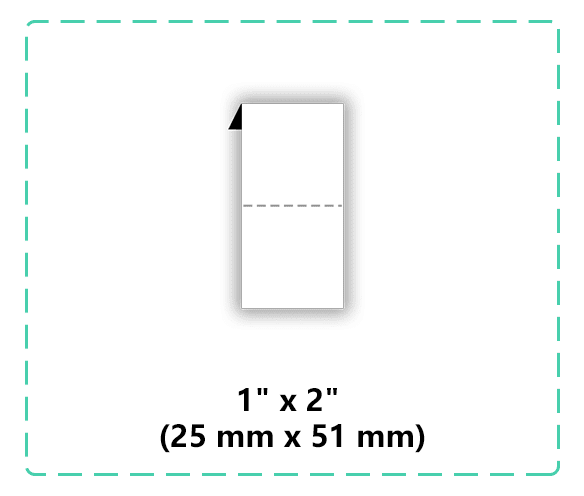
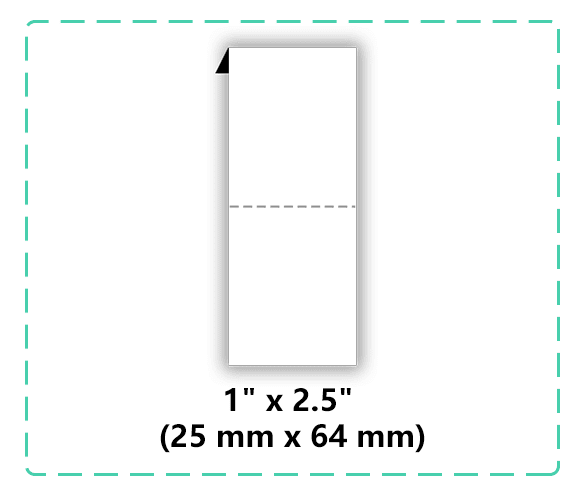
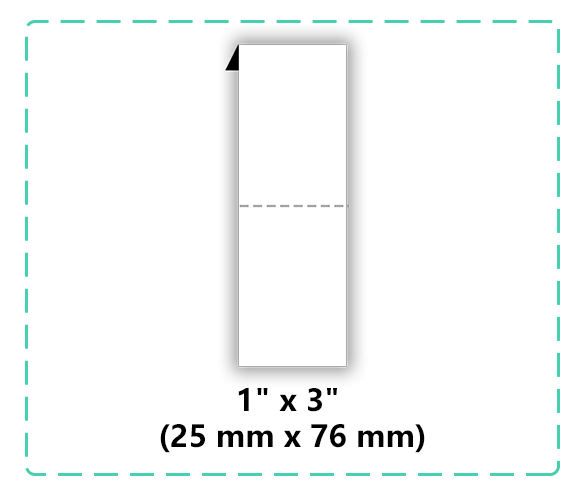
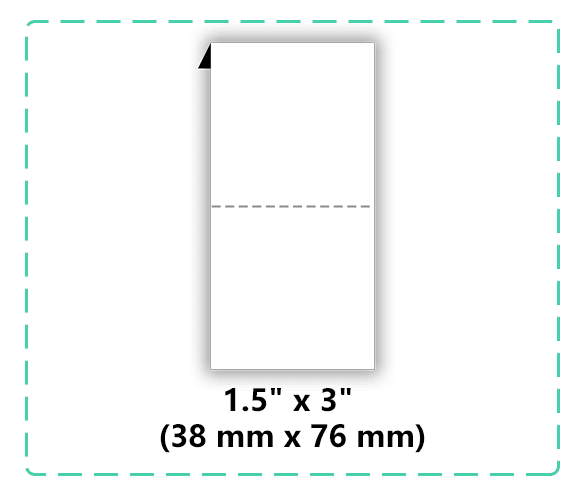
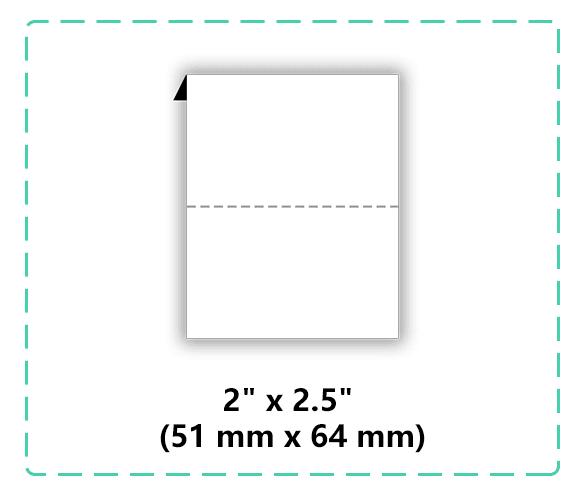
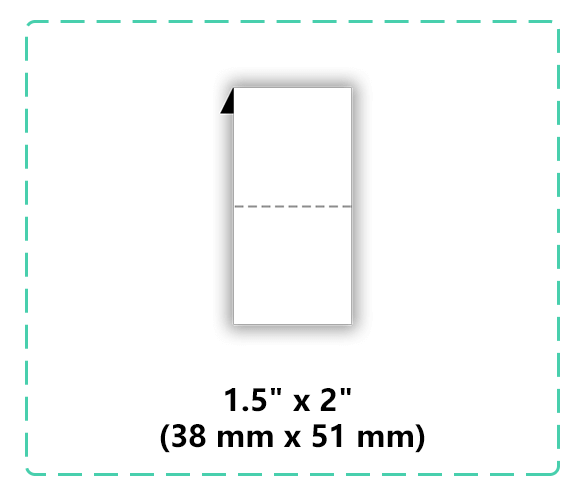
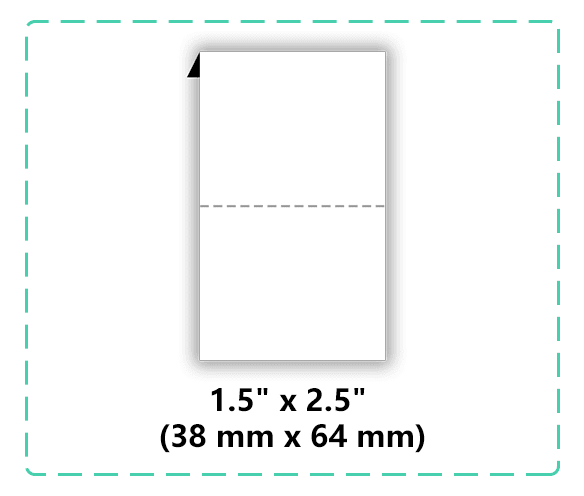
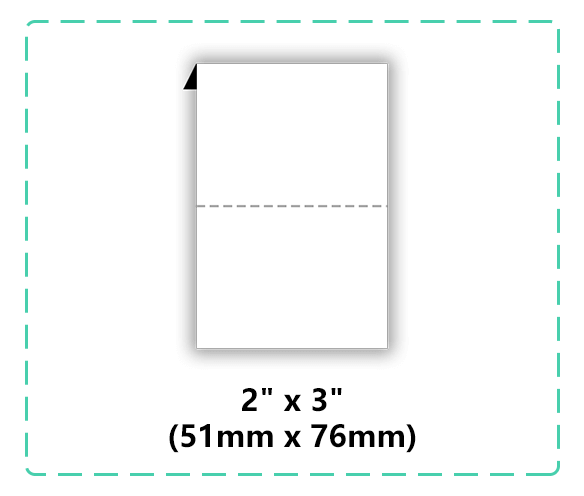
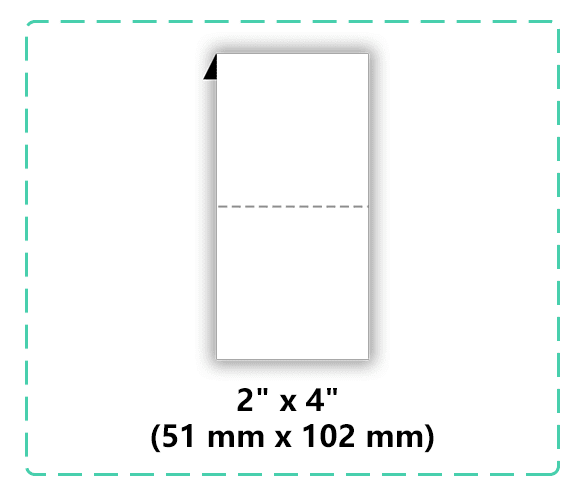
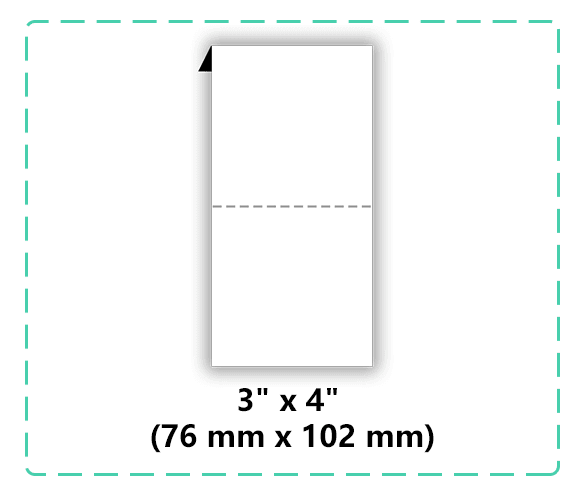
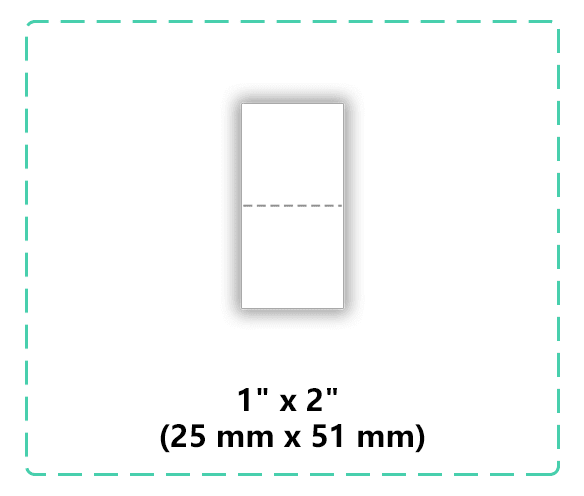
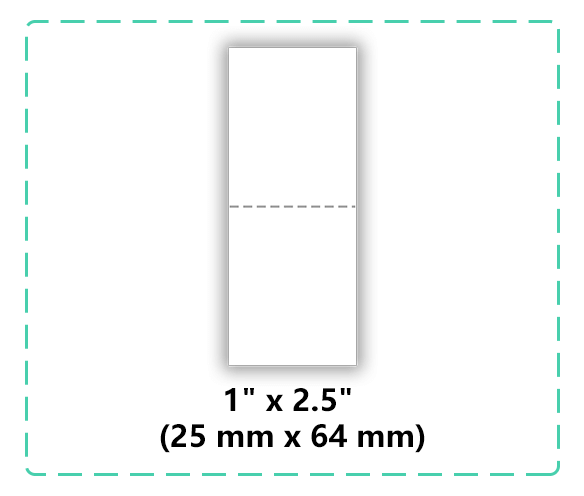
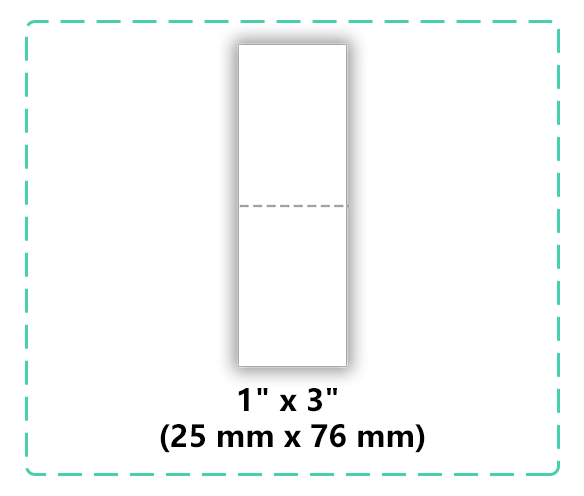
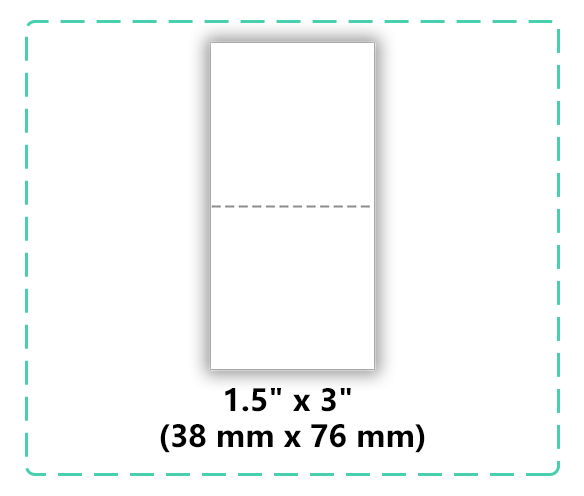
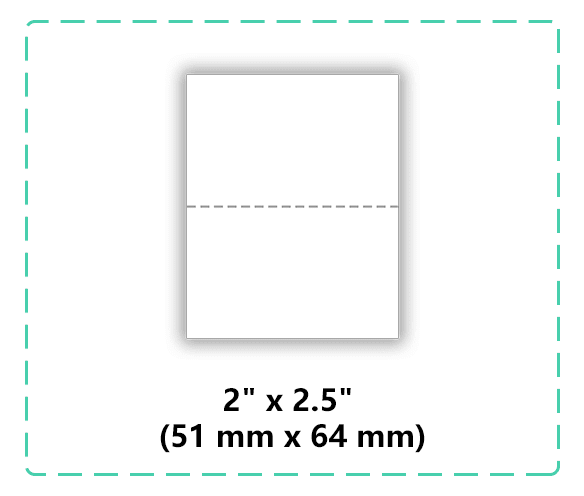
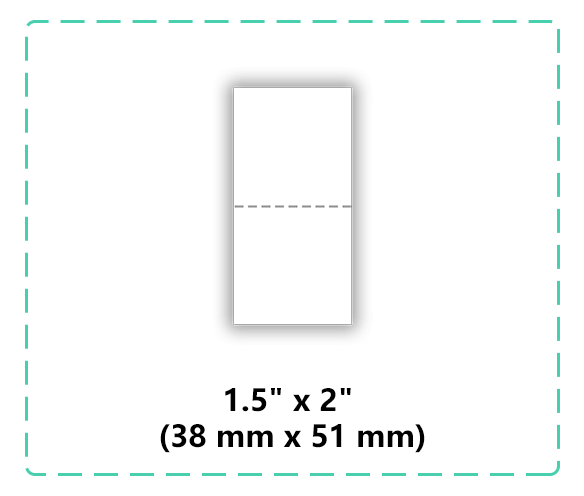
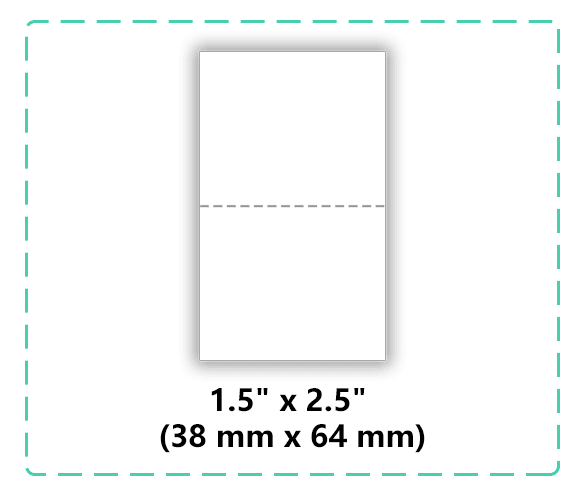
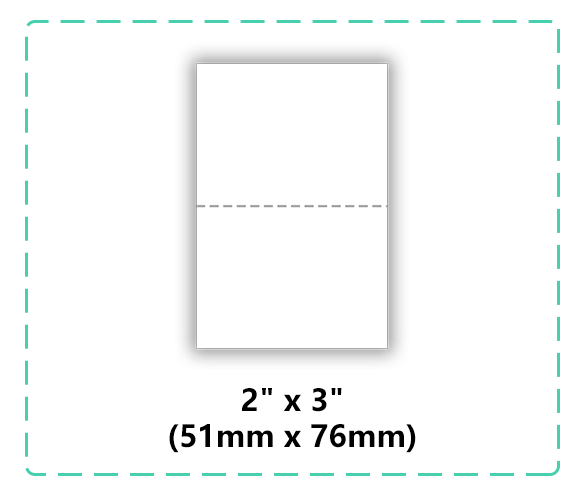
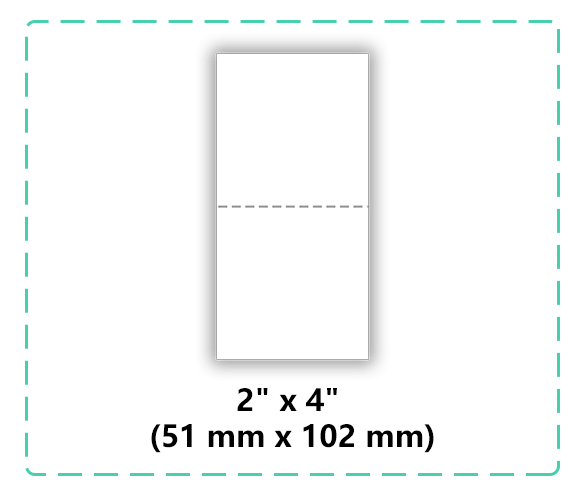
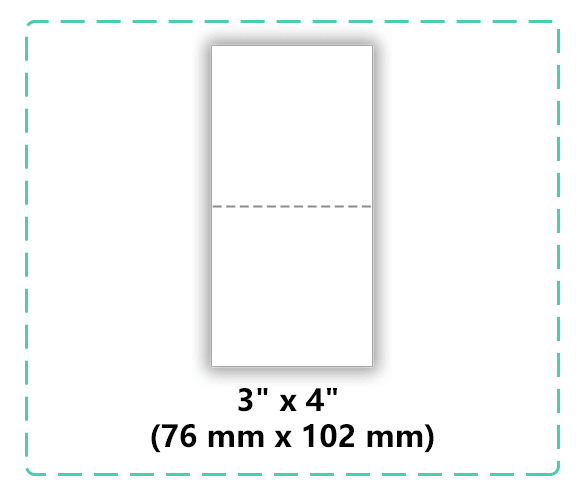
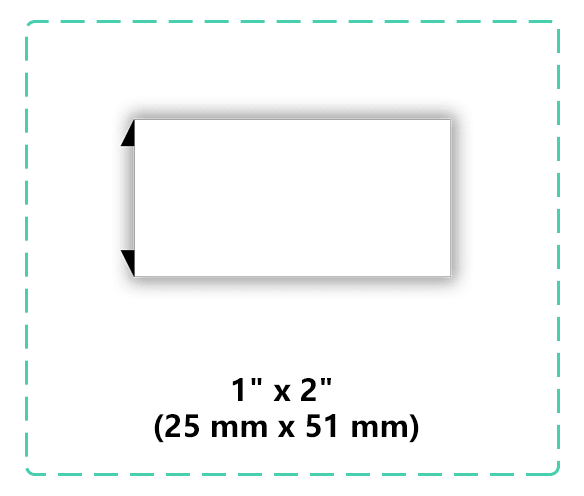
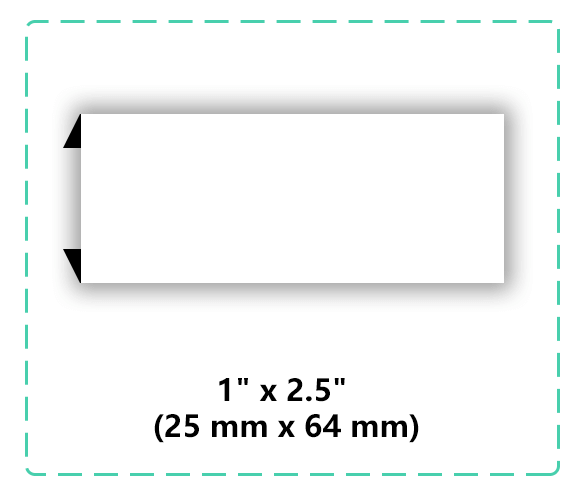
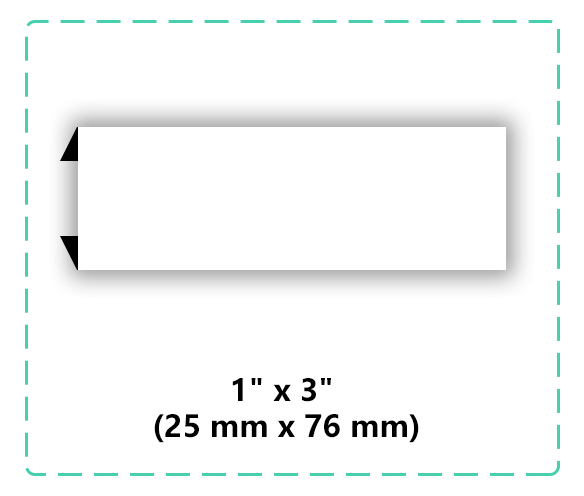
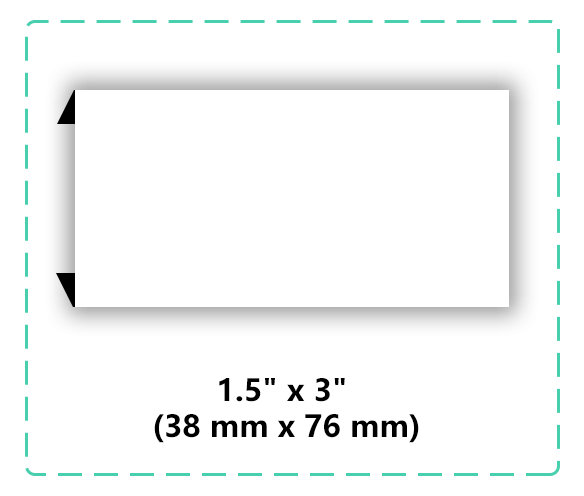
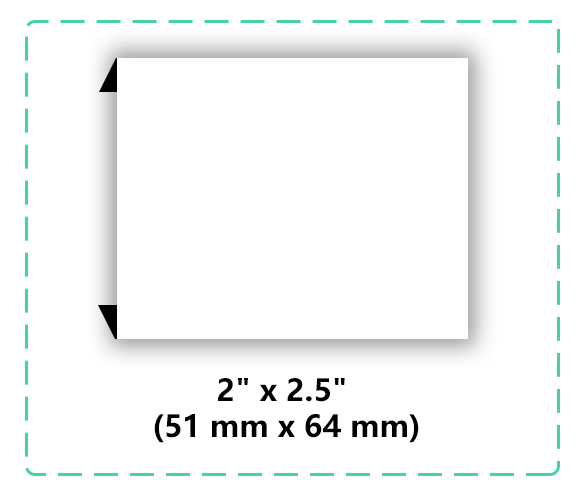
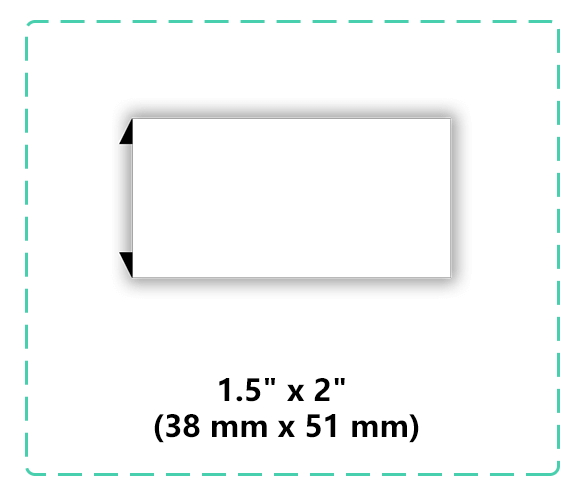
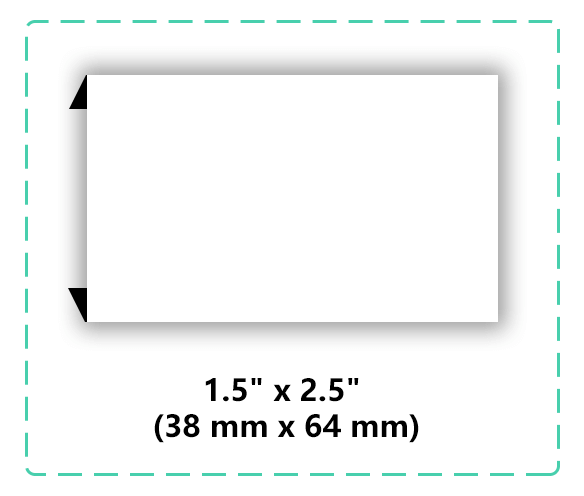
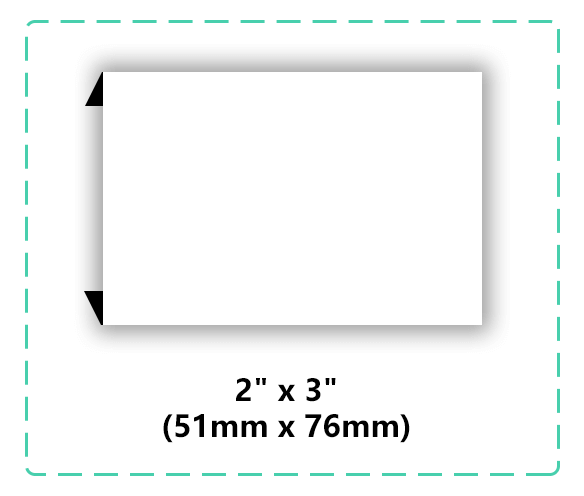
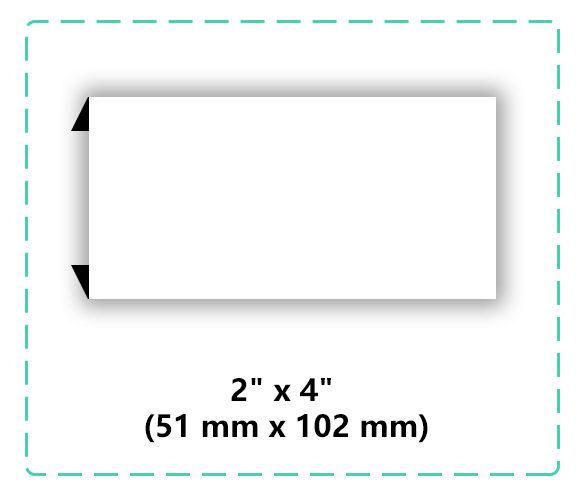
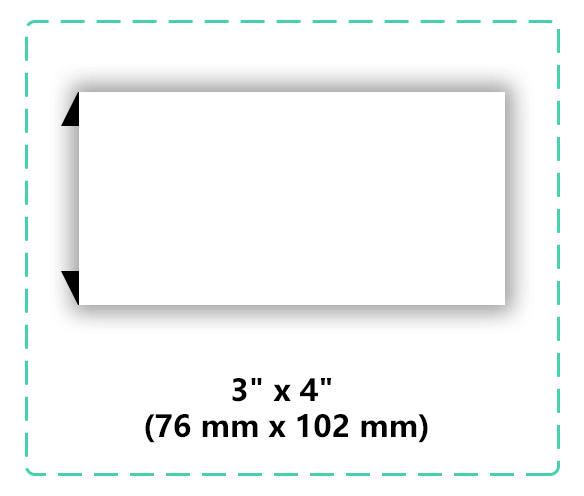
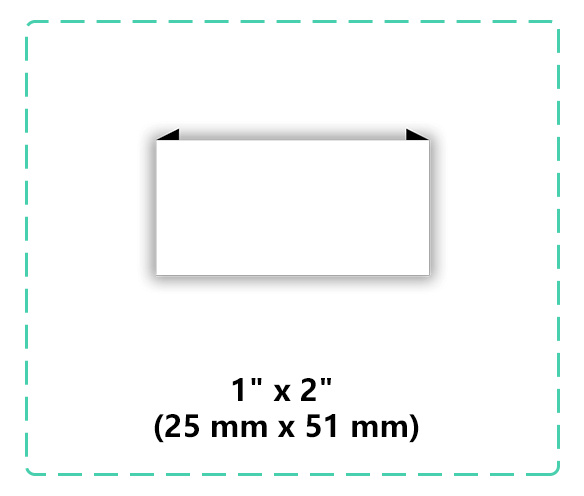
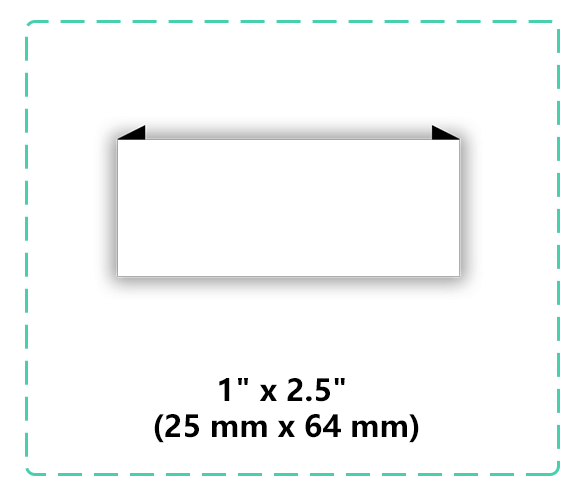
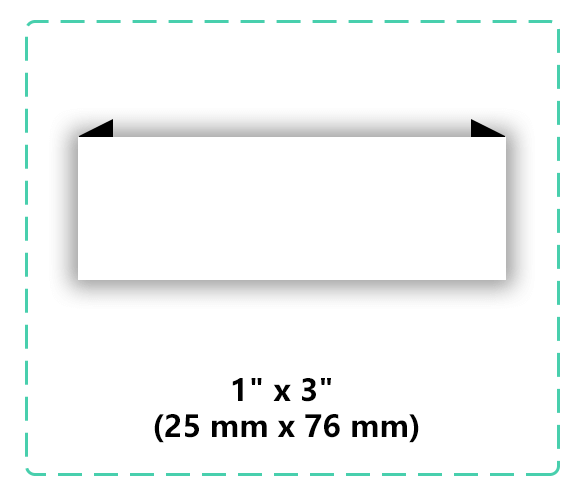
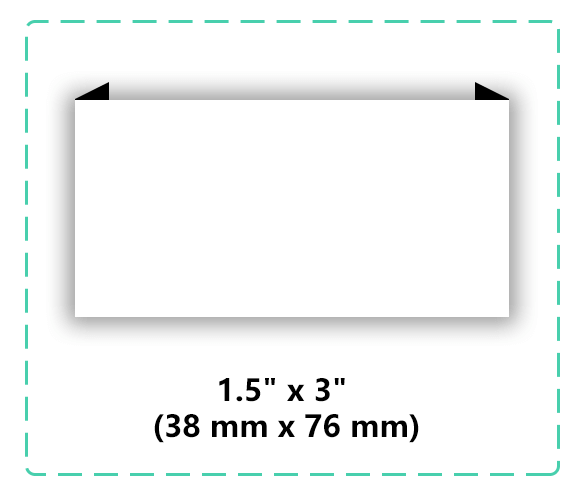
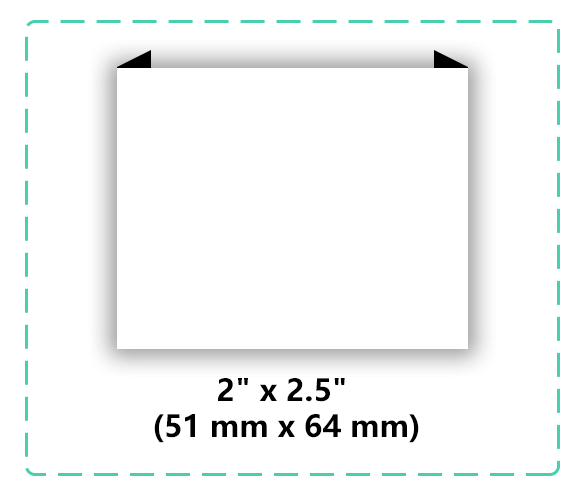
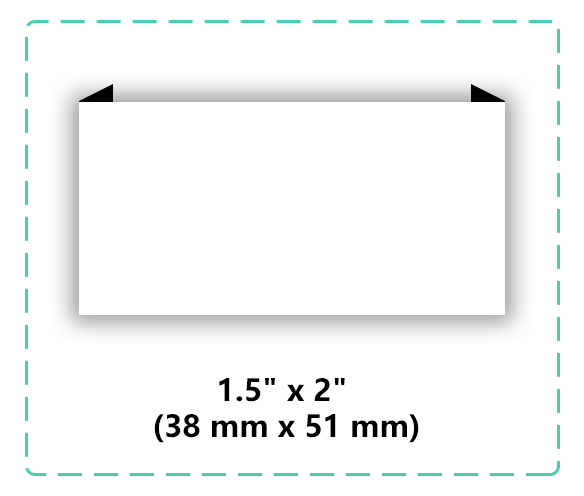
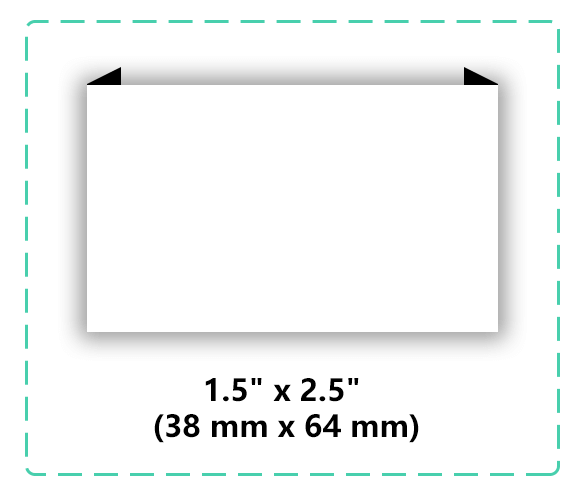
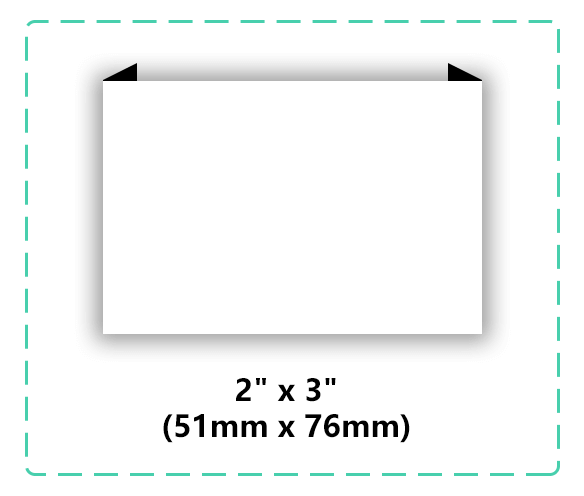
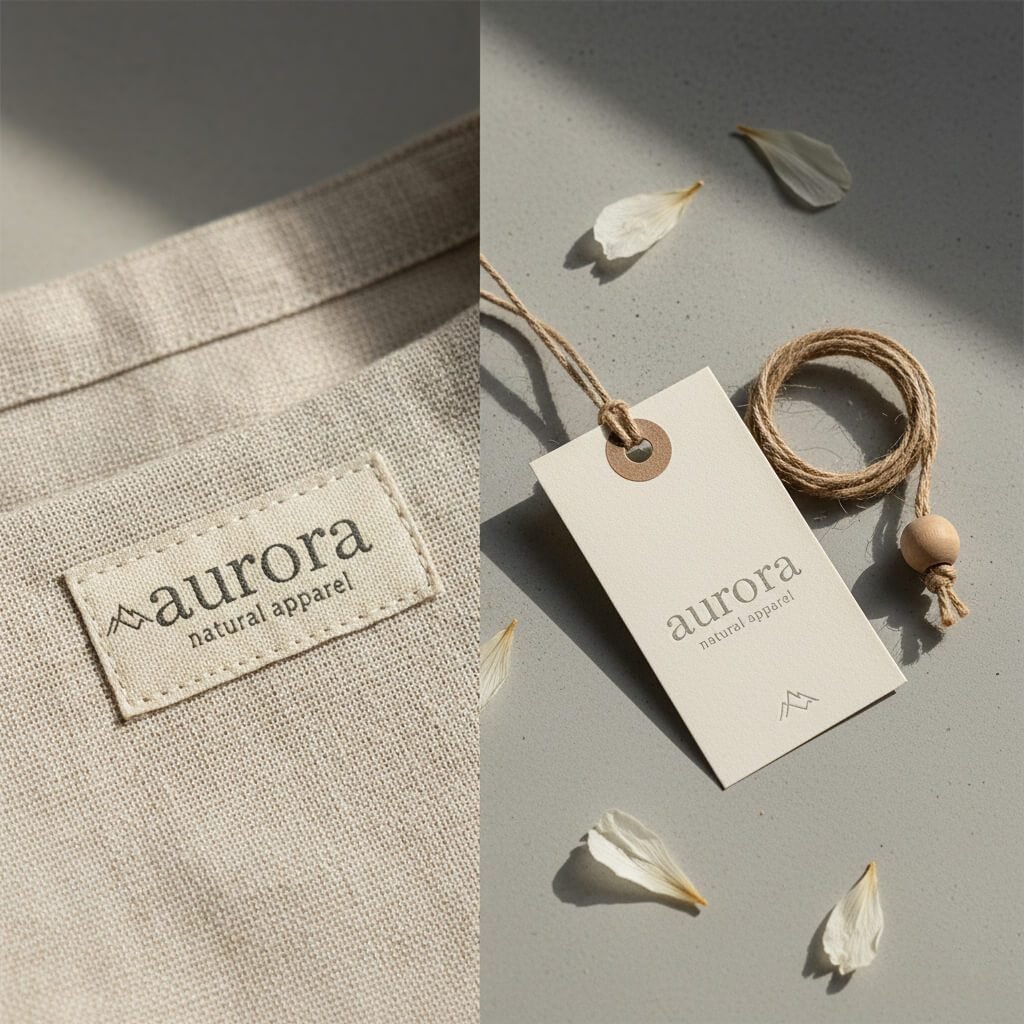
Choose the label size together with the intended placement. A design that works well at the neck may feel too large at the hem, while a very small side seam label may not have enough room for detailed lettering.
When choosing the size, consider:
- where the label will be attached
- how much artwork or text it contains
- whether the label will be folded
- how much space is needed for sewing
- whether the label will touch the skin
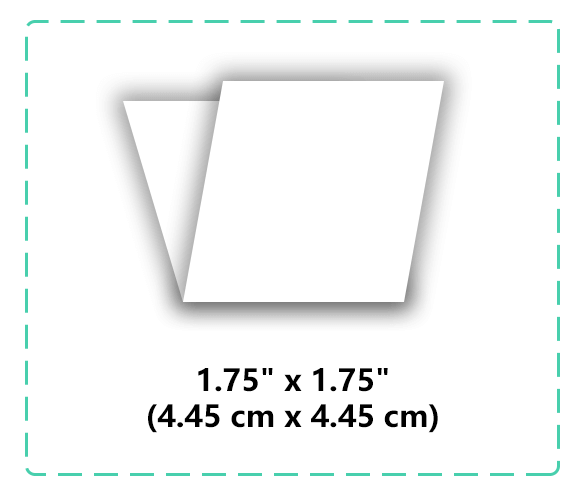
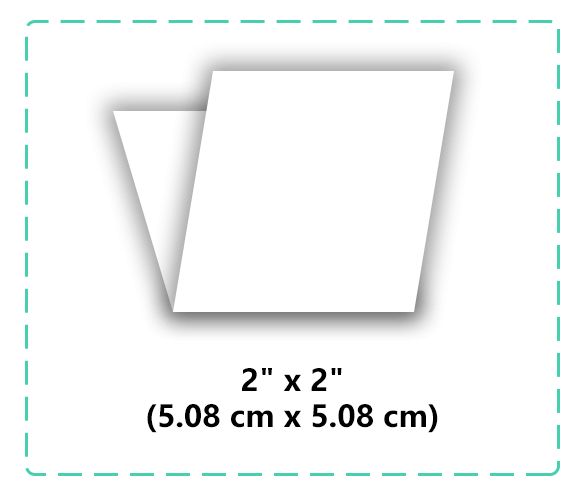
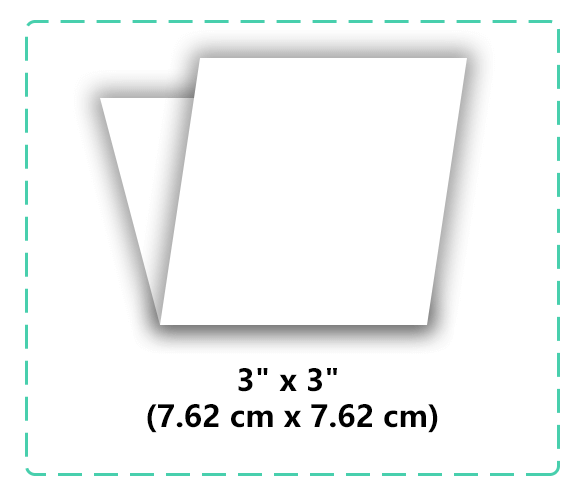
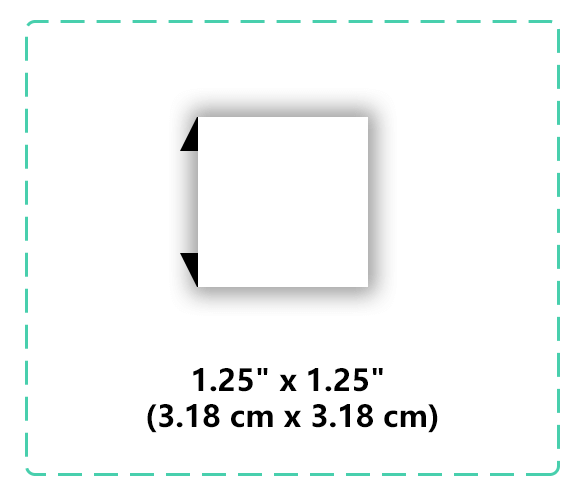
Always distinguish between the visible finished size and the flat or production size when a fold is involved.
If you are unsure about the dimensions, start with our detailed Woven Label Size Guide or send your artwork and garment placement for a size recommendation.
Step 3: Choose the Fold and Attachment
The fold determines how the label is sewn into the garment and how much of the label remains visible after installation.
Common options include:
- Straight cut — useful when the label will be sewn around the edges or attached flat
- End fold — adds folded sewing areas at the left and right sides
- Center fold — creates a loop-style label with two sides
- Loop fold — suitable for specific seam or hanging applications
The right choice depends on the garment, placement, visible size, and sewing method. Do not choose the fold only by appearance — it also changes the production dimensions of the label.
For detailed fold diagrams and use cases, see our Woven Label Fold Guide.
Step 4: Prepare Artwork That Works for Weaving
Woven labels reproduce artwork with threads, so the design needs to remain clear at the final production size.
Clean logos, readable lettering, and clearly separated design elements usually translate well into weaving. Very thin lines, tiny text, extremely small gaps, and complex gradients may need to be simplified.
Before sending your artwork, check:
- Is the smallest text readable at the final label size?
- Are thin lines important to the design?
- Is there enough space between letters and graphic elements?
- Does the logo still look clear when reduced?
- Have you left enough space for folds and sewing areas?
Vector artwork is preferred when available because it makes scaling and production preparation easier. If you only have a high-resolution image, send it with your inquiry and we can review whether it is suitable.
Do not force detailed artwork into a label that is too small. Increasing the label size or simplifying the artwork usually produces a cleaner result.
Step 5: Choose Colors and Check Contrast
Color is important, but readability should come first.
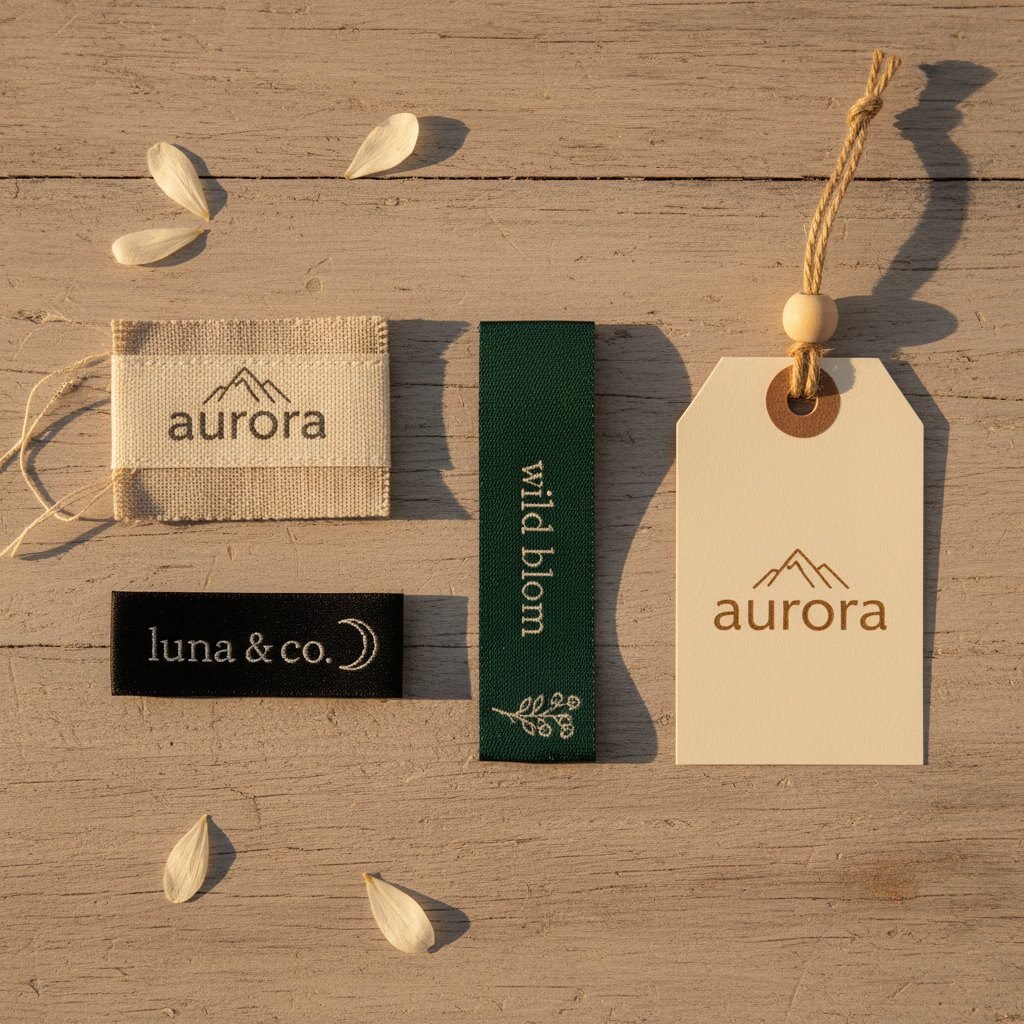
Your label colors and typography should also stay consistent with your wider brand identity. Bold brands may use stronger contrast and more expressive typography, while minimalist brands often work better with simpler type and a more restrained color palette.
Use clear contrast between the background and important text or logo elements. A very subtle color difference may look attractive on screen but become harder to read when reproduced with thread at a small size.
When preparing your color references:
- provide Pantone, HEX, or other brand color references when available
- identify which colors are most important to match
- check the contrast between text and background
- avoid relying on extremely subtle gradients for critical details
Screen colors and woven thread colors are not identical, so final production colors should be confirmed through the proof and production process rather than judged only from a monitor.
Step 6: Review the Digital Proof Before Production
Before bulk production begins, review the digital proof carefully.
The proof is your opportunity to confirm that the production setup matches the artwork and specifications you requested.
Check:
- finished label size
- fold type
- artwork proportions
- text and spelling
- color references
- sewing or fold areas
- label orientation
- any size or design variations
If something is unclear, request the adjustment before approving the proof.
UPPERLABELS provides a free digital proof before production so the key specifications can be confirmed before the order moves forward.
Physical production samples can also be discussed when needed, depending on the project and order requirements.
Step 7: Production and Final Application
After the proof is approved, the order can move into production according to the confirmed specifications.
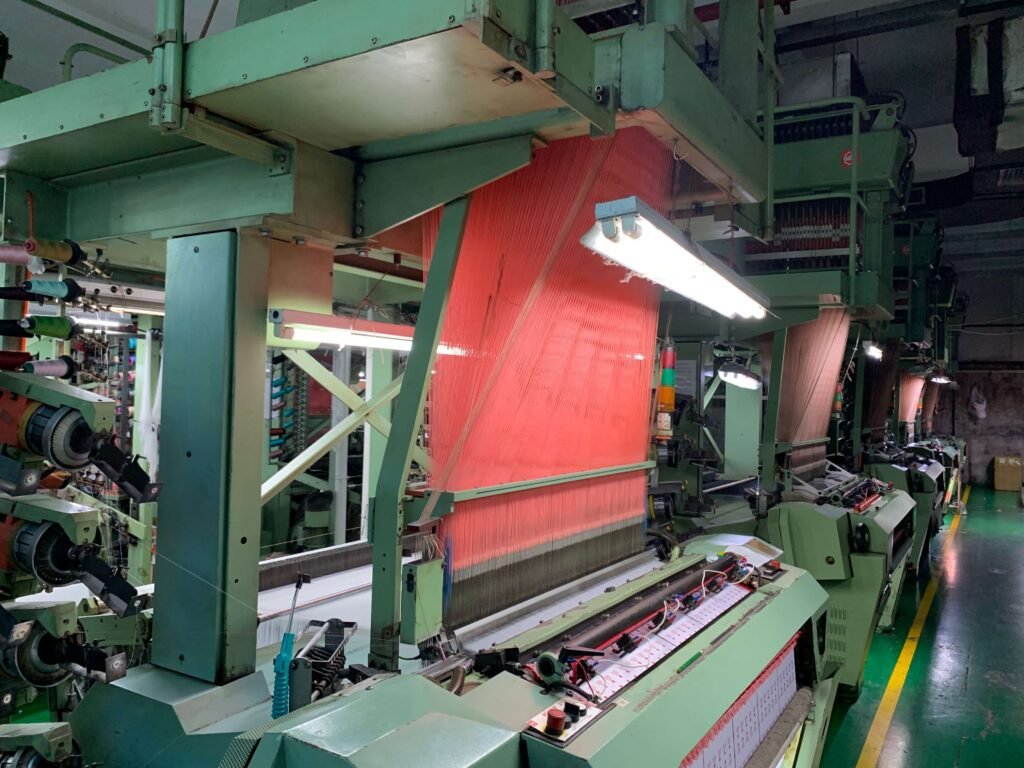
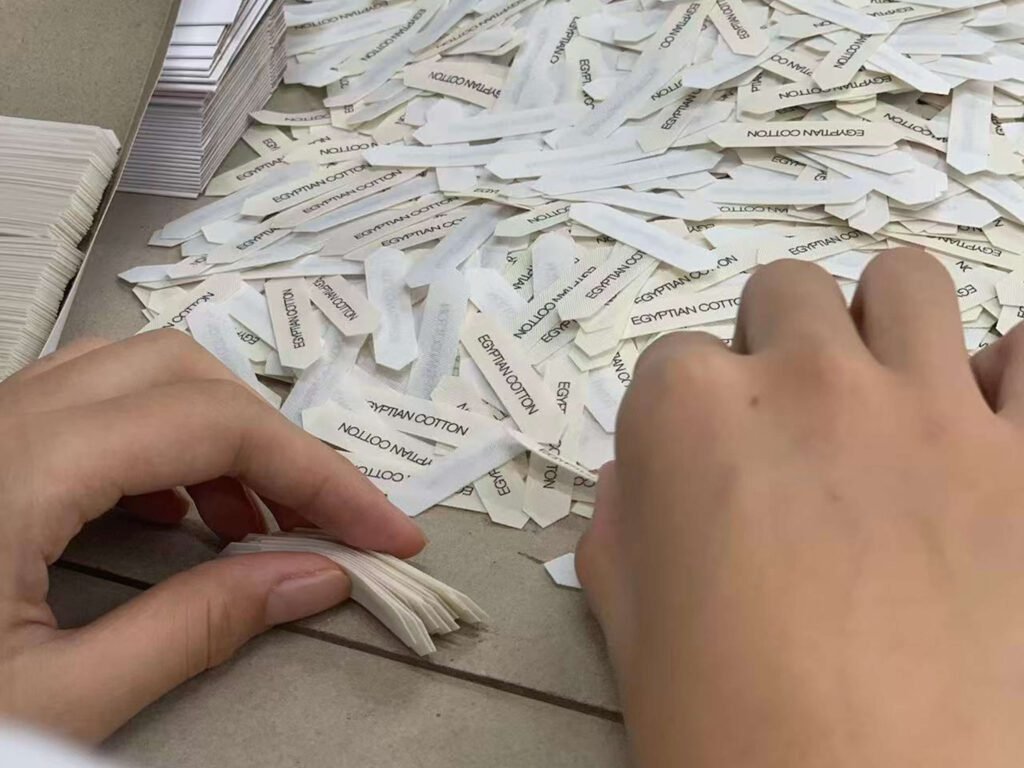
Production time depends on factors such as quantity, label construction, finishing, and the details of the order, so confirm the current timeline when requesting your quote.
When the labels arrive, use the attachment method planned during the design stage. Straight-cut, end-fold, center-fold, and other label constructions may require different sewing positions.
For detailed installation examples, see our Woven Label Attachment Guide.
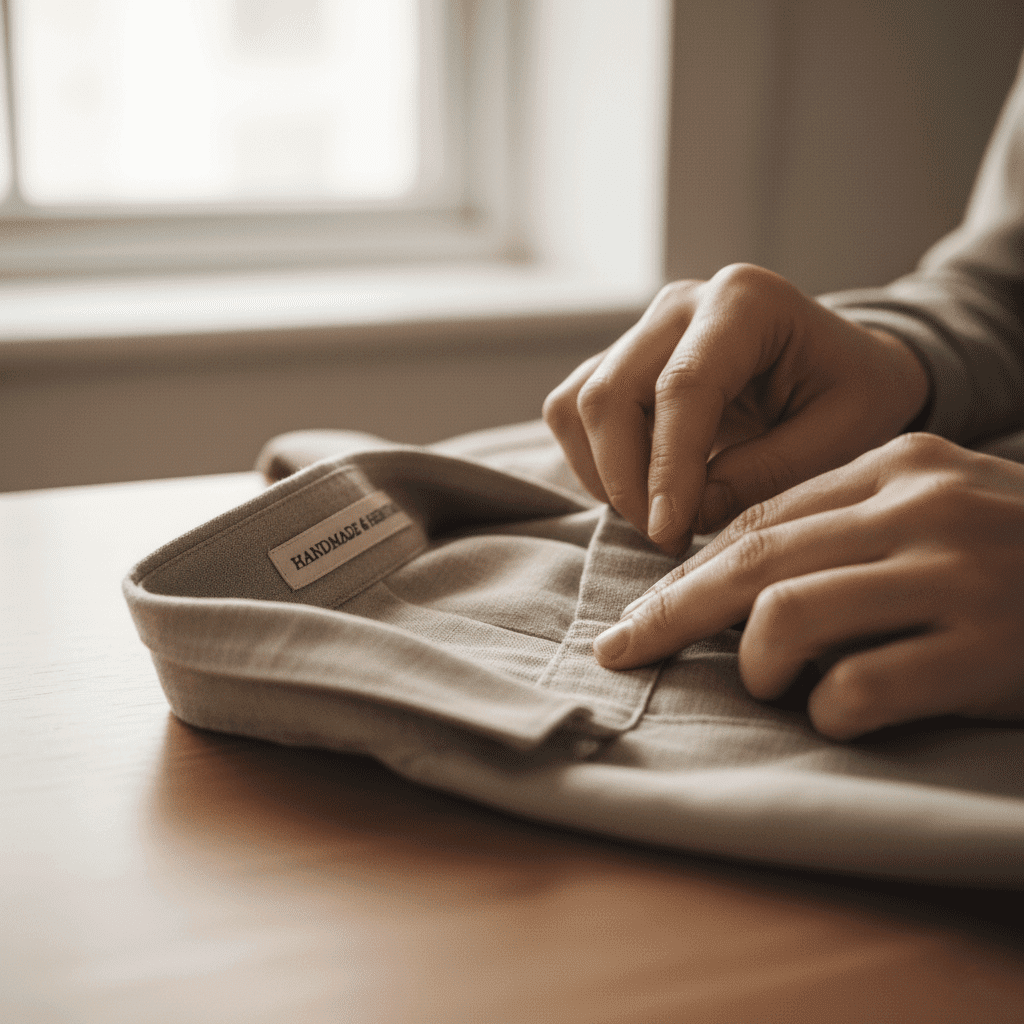
Planning the attachment method before production helps avoid problems such as hidden artwork, incorrect fold direction, insufficient sewing space, or an awkward finished placement.
Final Woven Label Design Checklist
Before approving your final design, confirm:
- The label has a clear purpose and placement
- The finished size suits the garment and artwork
- The fold type matches the sewing method
- Small text and thin lines remain readable
- Important colors have clear references
- Folding and sewing areas do not cover key artwork
- The digital proof matches the requested specifications
- Any different sizes or design versions are clearly identified
What file format should I send for a woven label?
Vector artwork is preferred when available because it can be scaled without losing clarity. High-resolution image files can also be reviewed if vector artwork is not available.
How small can text be on a woven label?
There is no single minimum that works for every design. Readability depends on the font, line thickness, label size, and surrounding artwork. Very small text may need to be enlarged or simplified before production.
Should I choose the size or fold first?
Start with the intended placement and visible size, then choose a fold that works with the garment and sewing method. Fold type can affect the final production dimensions.
Can you recommend a label size if I am not sure?
Yes. Send your artwork and tell us where the label will be used. We can recommend a practical starting size based on the design and intended placement.
Will I see a proof before production?
Yes. UPPERLABELS provides a digital proof before production so you can review the key specifications and request adjustments before approving the order.
Ready to Turn Your Artwork Into a Woven Label?
Send us your artwork, preferred size, garment type, placement, quantity, and any fold or color details you already know.
If some specifications are still uncertain, that is fine. We can review your design and recommend a practical starting point before production.