If you’re running a clothing brand, selling handmade pieces, or just want your products to look more professional, adding a woven label is one of the quickest upgrades you can make. The tricky part? Most people attach them the wrong way — crooked stitches, weird placement, wrong fold type… the list goes on.
This guide walks you through how to attach woven labels the right way, even if you’re a total beginner.
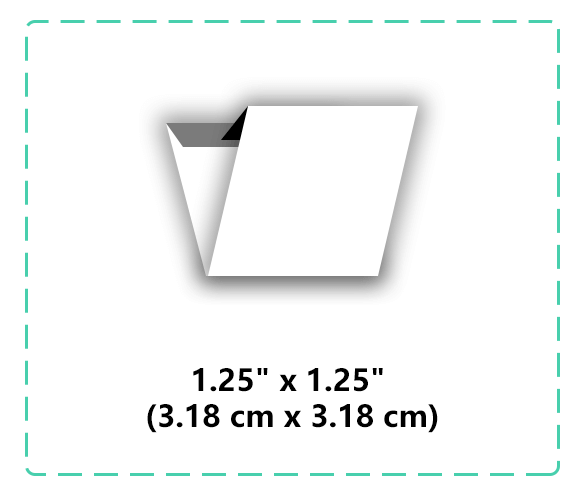
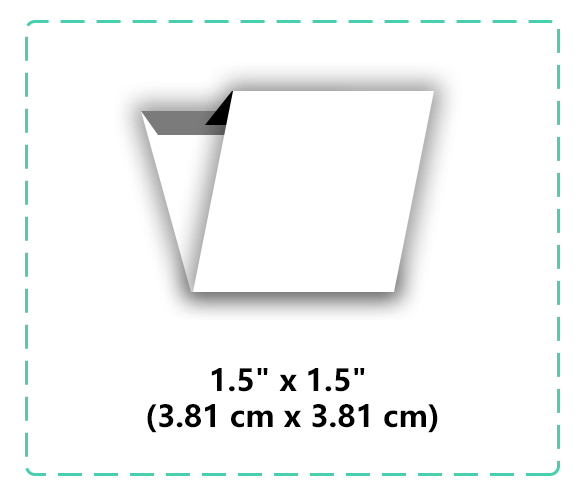
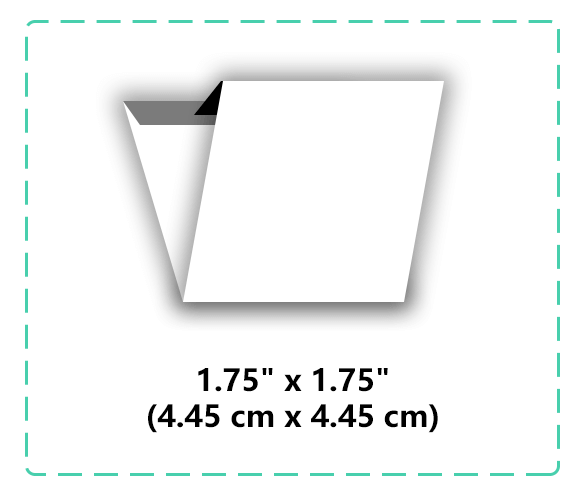
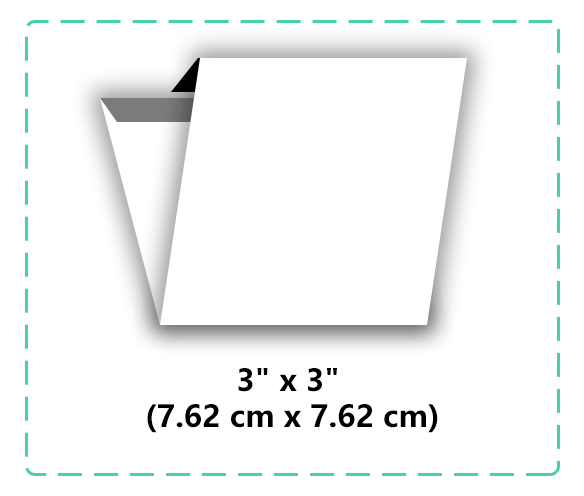
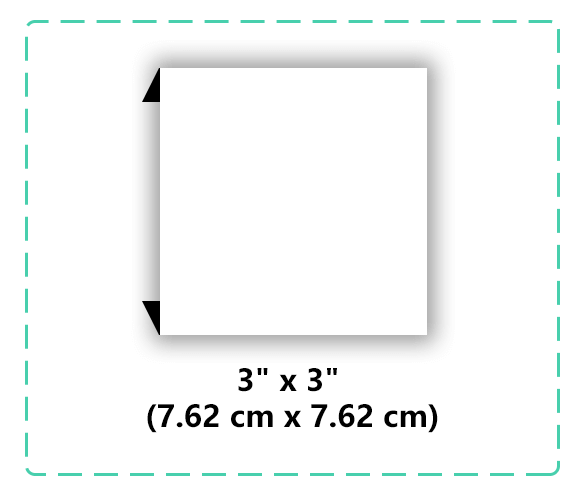
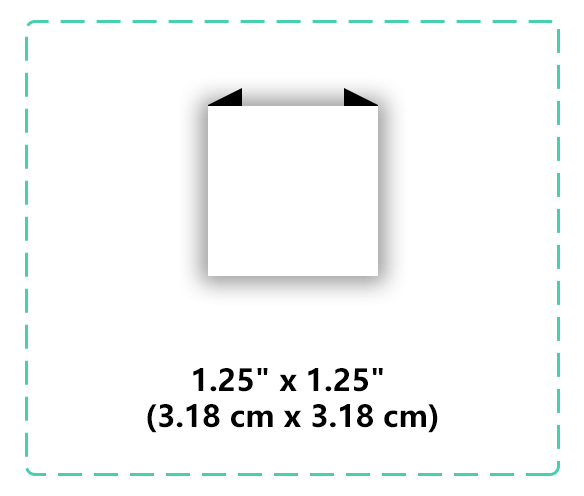
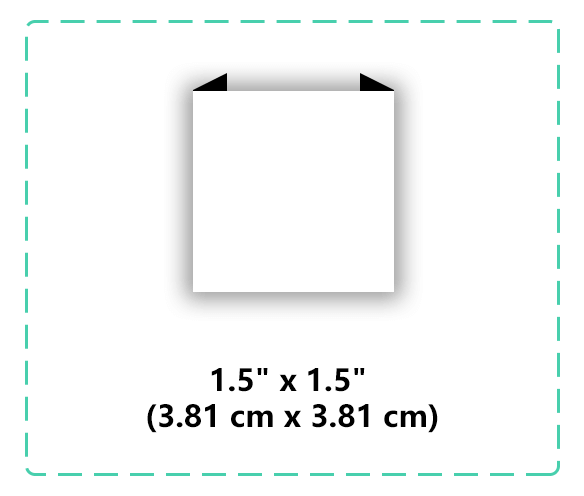
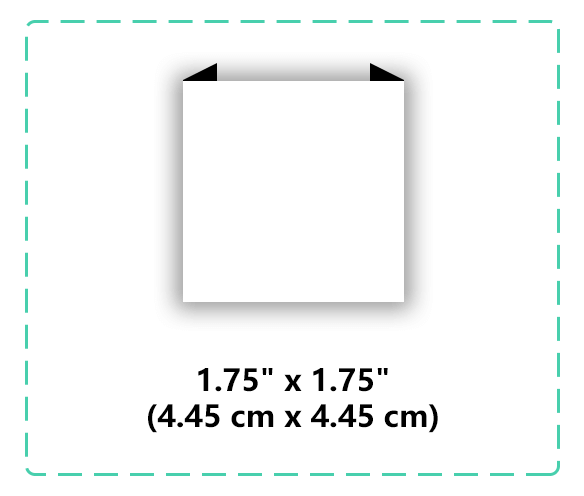
1. Pick the Right Type of Woven Label First
Different label types need different stitching methods. Here’s the quick breakdown:
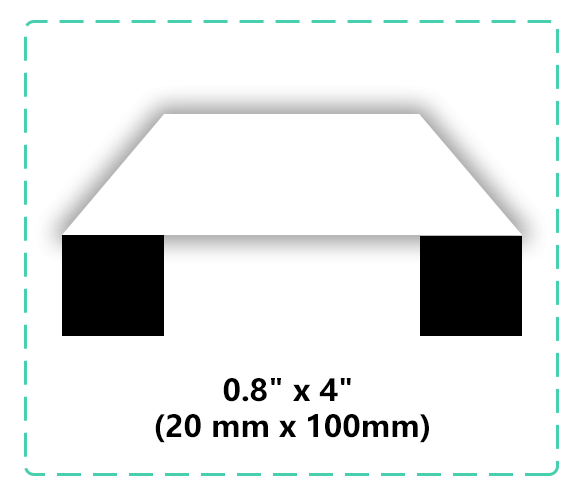
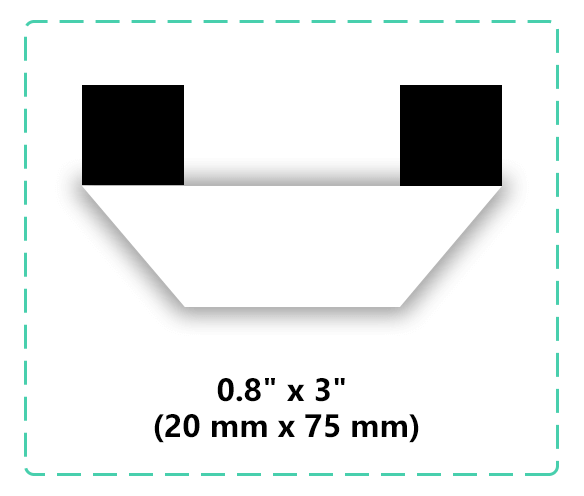
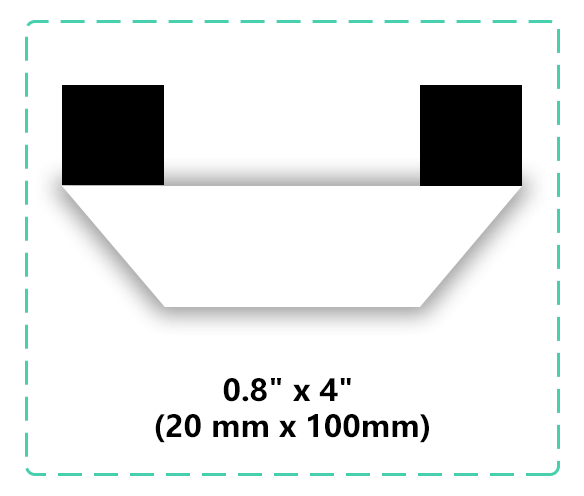
Center Fold — sew across the top edge
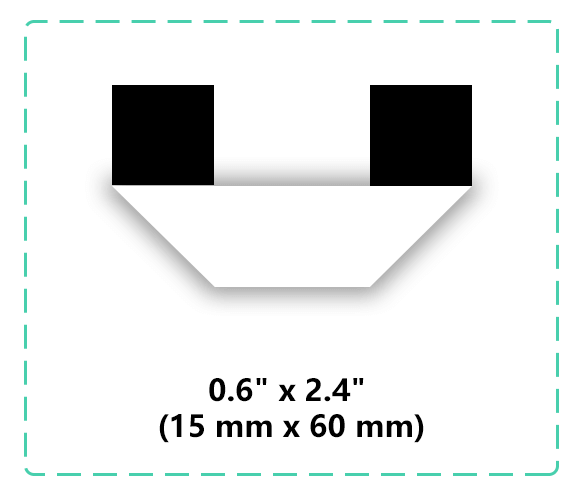
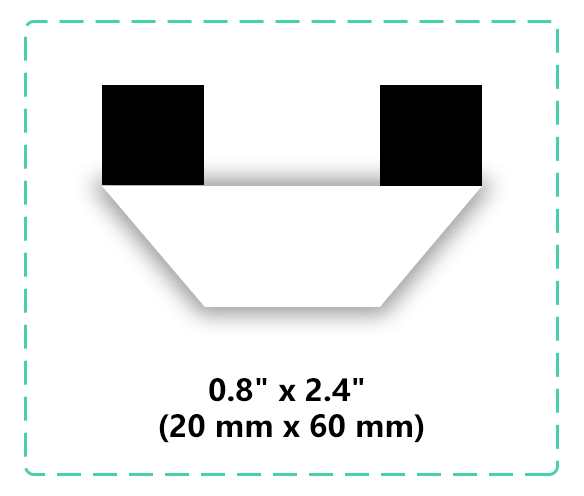
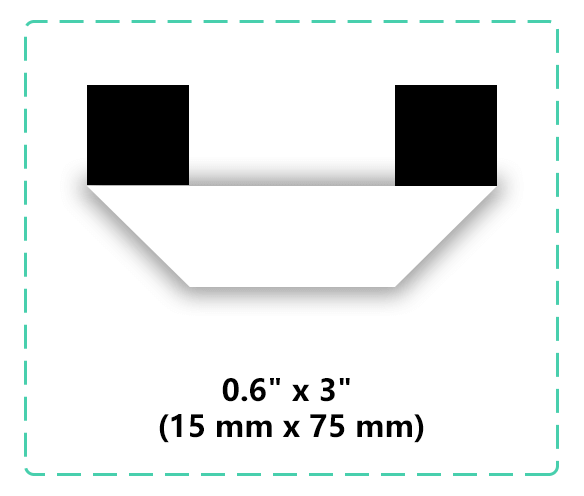
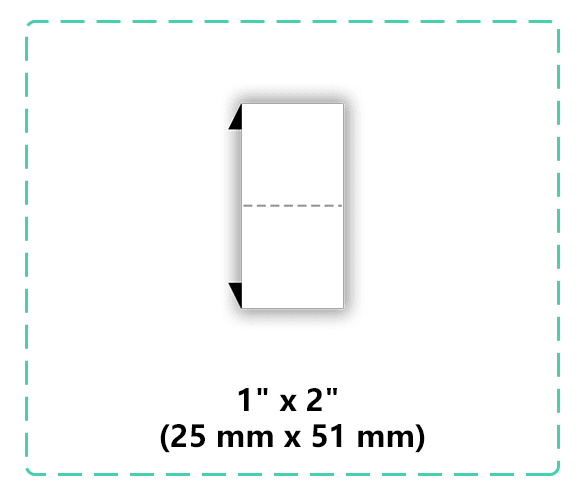
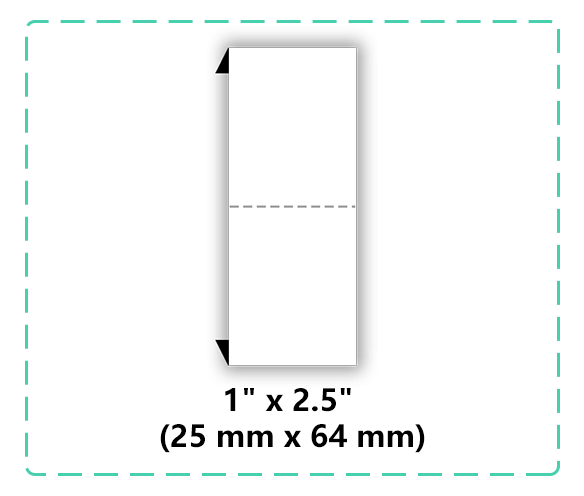
End Fold — sew both folded ends
Straight Cut — stitch around all four sides
Iron-On — press with heat, optional stitch
If you need help choosing, here’s our guide:
Woven Label Fold Guide → https://upperlabels.com/how-to-choose-the-perfect-woven-label-fold-for-your-brand/
2. Choose the Right Placement
Where you put the label decides how “premium” your product looks.
Most common spots:
Inside neckline
Side seam
Hem tag (outer branding)
Hoodie/bag edge
Waistband
If you’re unsure about sizing, check our guide:
Size Guide → https://upperlabels.com/how-to-choose-the-perfect-woven-label-size-a-designers-guide/
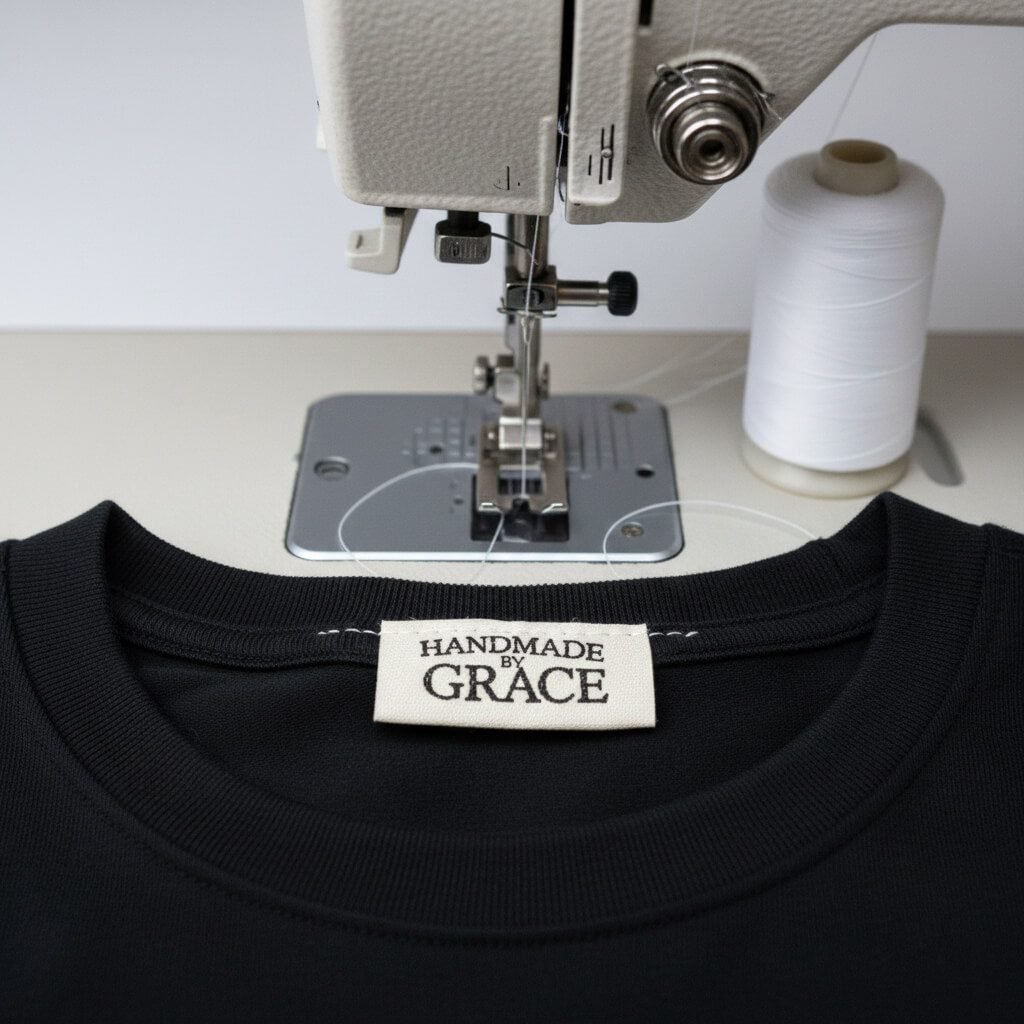
3. How to Attach a Center Fold Label (Beginner-Friendly)
Center fold labels are the easiest to work with.
Steps:
Place the folded edge along the seam.
Pin it in place.
Stitch straight across the top.
Keep the stitches tight and even.
Pro tip: A slightly tighter tension helps keep the label from shifting.
4. How to Attach an End Fold Label (Premium Look)
End fold labels look clean, minimal, and upscale.
Steps:
Folded ends go under the stitching area.
Place the label on the neckline or cuff.
Sew only through the folded tabs.
Keep stitches tight and subtle.
5. How to Attach a Straight Cut Label (Hem Tag / Outer Branding)
Used widely in streetwear, beanies, hoodies, and bags.
Steps:
Align the label exactly where you want it.
Pin it — symmetry matters.
Stitch all around the edges.
Make sure the label stays perfectly straight.
7. Common Beginner Mistakes (and How to Avoid Them)
Crooked placement
Using the wrong stitch length
Thread tension too loose
Not pressing the label before/after
Sewing too close to the edge