Worldwide Shipping · Get a Custom Quote


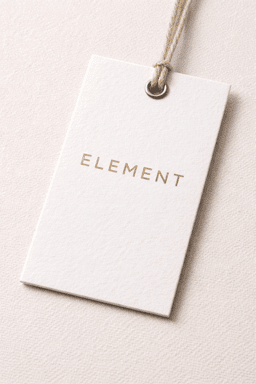
A clothing hang tag does not need to contain everything about your product.
The goal is to include the information that customers, retailers, or your internal workflow actually need — while keeping the layout clear and easy to read.
Depending on the product and sales channel, a hang tag may include branding, product information, pricing, SKU or barcode data, QR codes, and selected supporting details.
This guide explains what to include, what is optional, and how to organize the information across the front and back of your tag.
1. Start With Your Brand Identity
Most clothing hang tags begin with the brand itself.
Common elements include:
– brand name
– logo
– tagline, if you use one consistently
The brand should be easy to identify without competing with too much other information.
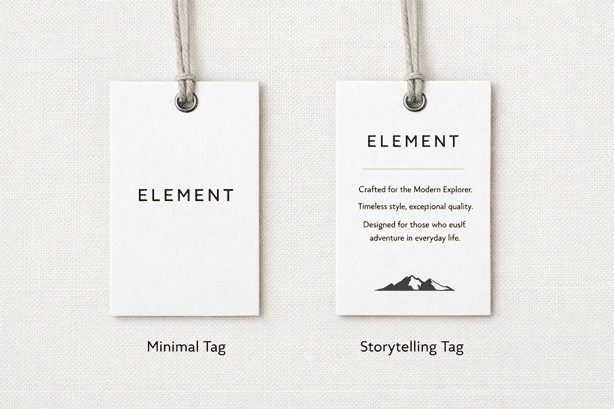
If the front of the tag is mainly for branding, keep it visually simple and move product or retail information to the back.
2. Add the Product Information You Actually Need
Product information depends on how the garment is sold and managed.
Useful details may include:
– product or style name
– size
– color or variation
– price
– material or fabric information
– short care note, when appropriate
You do not need to include every possible detail on the hang tag.
Information that must remain with the garment after purchase is usually better placed on a permanent care label or other sewn-in label.
3. Decide Whether You Need SKU, Barcode or QR Code Information
Retail and inventory information can also be added to a hang tag when it supports your sales or fulfillment workflow.
Common examples include:
– SKU or internal product code
– UPC / GTIN barcode
– product variation code
– QR code
– website URL
SKU and barcode information can help identify different products, sizes, or color variations.
QR codes can be used to connect customers with additional information that does not need to be printed directly on the tag, such as a product page, care guide, brand story, or campaign page.
Leave enough clear space around any barcode or QR code so it can be scanned reliably.
For a deeper explanation of UPC, SKU, product variants, and QR codes, see our Barcode Hang Tags Guide.
4. Add Optional Brand or Product Information Only When It Helps
Some hang tags also include supporting brand or product information.
Examples may include:
– a short brand message
– website or social media information
– product features
– sourcing or production information
– verified sustainability claims
– short usage or care guidance
These elements are optional.
Only include claims that accurately reflect the product or your production process, and avoid filling the tag simply because space is available.
What Not to Overload on a Hang Tag
A hang tag becomes harder to use when too many messages compete for attention.
Try to avoid:
– long paragraphs
– duplicated information
– text that becomes too small to read
– unnecessary marketing claims
– too many links or social handles
– information that already belongs on a permanent care label
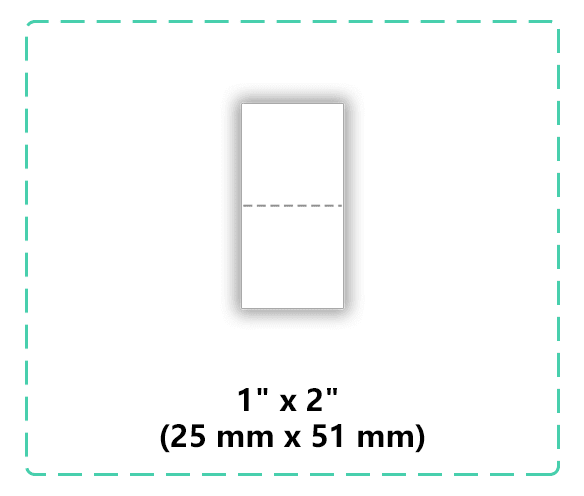
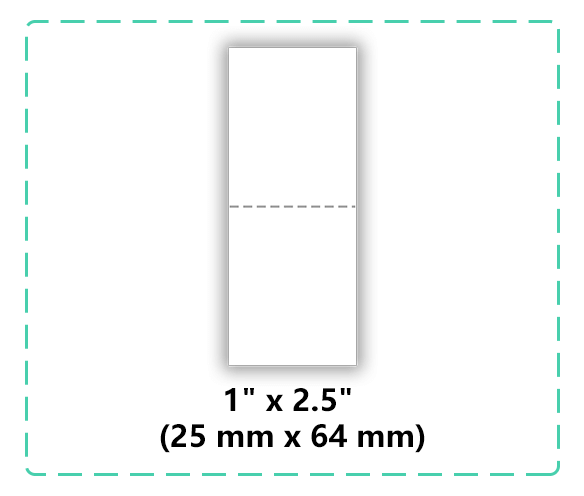
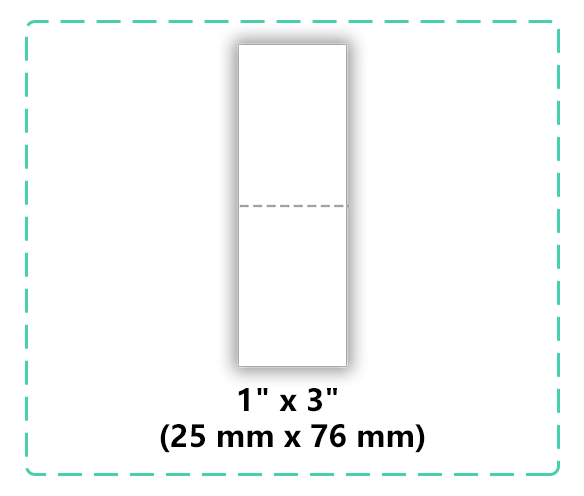
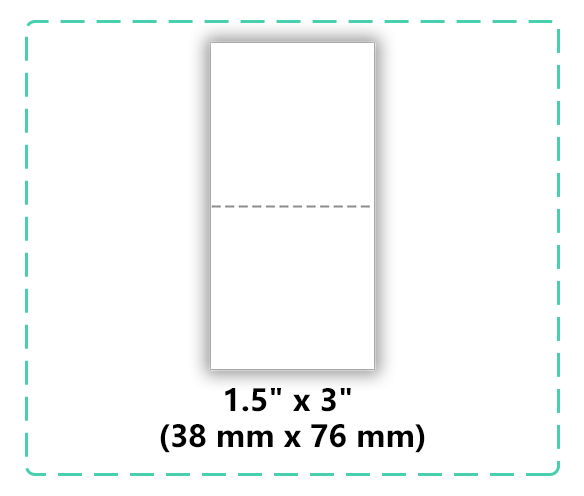
If the content does not fit comfortably, consider using both sides, increasing the tag size, or choosing a folded format instead of compressing everything into one small area.
How to Organize the Front and Back
Double-sided hang tags are useful because branding and product information do not have to compete on the same surface.
A simple layout might be:
Front:
– logo
– brand name
– primary visual element
Back:
– product or style information
– size or price
– SKU or barcode
– QR code
– website or selected supporting details
This is only a starting point. The final layout should follow the amount of information, tag size, artwork, and retail requirements.
Hang Tags and Permanent Labels Serve Different Roles
Hang tags are normally removed after purchase, while woven labels, printed labels, and care labels can remain with the garment.
That means they do not need to carry the same information.
For example:
Hang tag → branding, retail information, barcode, QR code, price
Woven label → permanent brand identification
Care label → fiber content, care instructions, origin, and other required garment information
Plan them as one labeling system, but give each label a clear job.
Clothing Hang Tag Content Checklist
Before finalizing your artwork, check:
– Brand name or logo included
– Product information confirmed
– Size / price included if needed
– SKU or product code checked
– Barcode tested if included
– QR code tested if included
– Optional brand message kept concise
– Front and back layout confirmed
– Text is easy to read
– Important elements are clear of the hole and cut edges
What information should be on a clothing hang tag?
Common information includes the brand name or logo, product details, size, price, SKU, barcode, QR code, website, or selected supporting information. The exact content depends on the product and sales channel.
Do clothing hang tags need a barcode?
Not always. A barcode is useful when it is part of your retail, inventory, or fulfillment workflow. Products sold through retailers may have different barcode requirements from products sold directly to customers.
Can I put a QR code on a hang tag?
Yes. QR codes can link to product pages, care information, brand stories, campaigns, or other digital content. Leave enough clear space around the code for reliable scanning.
Should the price be printed on the hang tag?
That depends on how the product is sold. Some brands and retailers include pricing on the hang tag, while others use separate stickers, labels, or retail systems.
Should care instructions go on the hang tag?
Short supporting care information can be included, but information that must remain with the garment should normally be placed on a permanent care label.
Can I print different information on the front and back?
Yes. Using both sides is a practical way to keep the front focused on branding while placing product, barcode, QR code, price, or other information on the back.
Related Guides
Ready to Plan Your Custom Hang Tag?
Send us your artwork, quantity, product type, and the information you want included. We can review the layout, size, printing, finishing, and attachment requirements before production.